The stifling heat has finally - FINALLY - given way to just a few days of coolers temps and even, God bless us, rain. The change in weather has helped shift my attention from lazy sweltering summer days to busy and productive back-to-school pursuits. My vacation from paperwork, constant e-mails, early mornings, too-short lunches, too-long-between potty breaks, and, oh yeah, children, ends today. Something that helps me ease the transition is thinking on lovely autumn-y things. It began when the fall edition of my Yankee Candle catalog came in the mail. (It was a scratch-n-sniff!) I found a scent that made me think of freshly sharpened pencils, shiny red apples, and long yellow school buses driving down dirt roads in some New England-y looking landscape with red and orange trees covering the rolling hills. (The scent was "Nature's Paintbrush," in case you're curious.)
Then, to make the transition yet more palatable I took myself to TJ Maxx for a little indulgent back-to-school clothes shopping. I love that, being a teacher on a budget that does not allow for monthly clothes shopping, more like bi-annual shopping, I can rationalize buying large amounts of clothing and shoes by saying, "I need it for the new school year!" My cunning fiance was less than convinced, but didn't stand in my way, either, and even made approving comments on what I brought home. (Especially when he found out that pretty much every item I found was six dollars! Yeah TJ Maxx!)
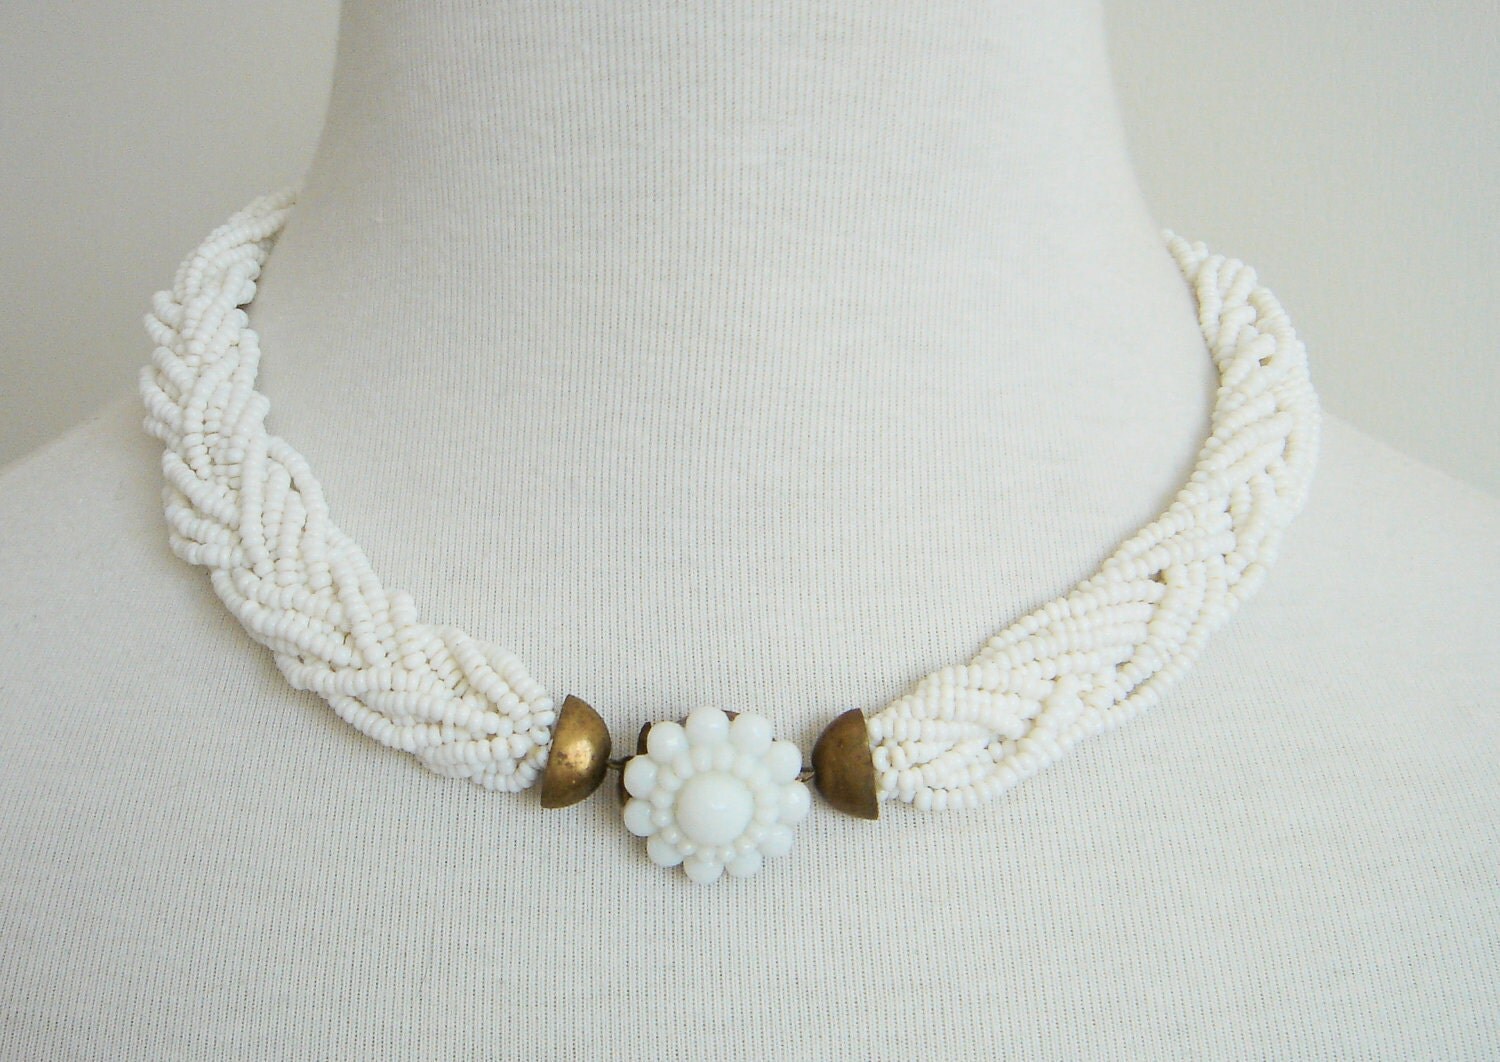
And now I've taken a transitional step that really says, to me, "Fall is on the way." Adding new fall-inspired jewelry designs to my Etsy shop. You'll notice a significant difference between the summer 2011 designs and the autumn ones. This summer was very light, understated, and almost not-there. The inspiration came from the heat that came fast and furious early in the season, unrelenting heat that made even putting on clothes undesirable. So who wants to be weighed down with a lot of bulky jewelry when it's a fight to even wear a shirt that's just going to end up sticking to you in ten minutes? Not I! I created a line that I called, "Nearly Nude Necklaces," so light and barely-there. They were kind of a hit, and I ended up selling quite a few, often in bulk amounts to brides for their wedding parties!
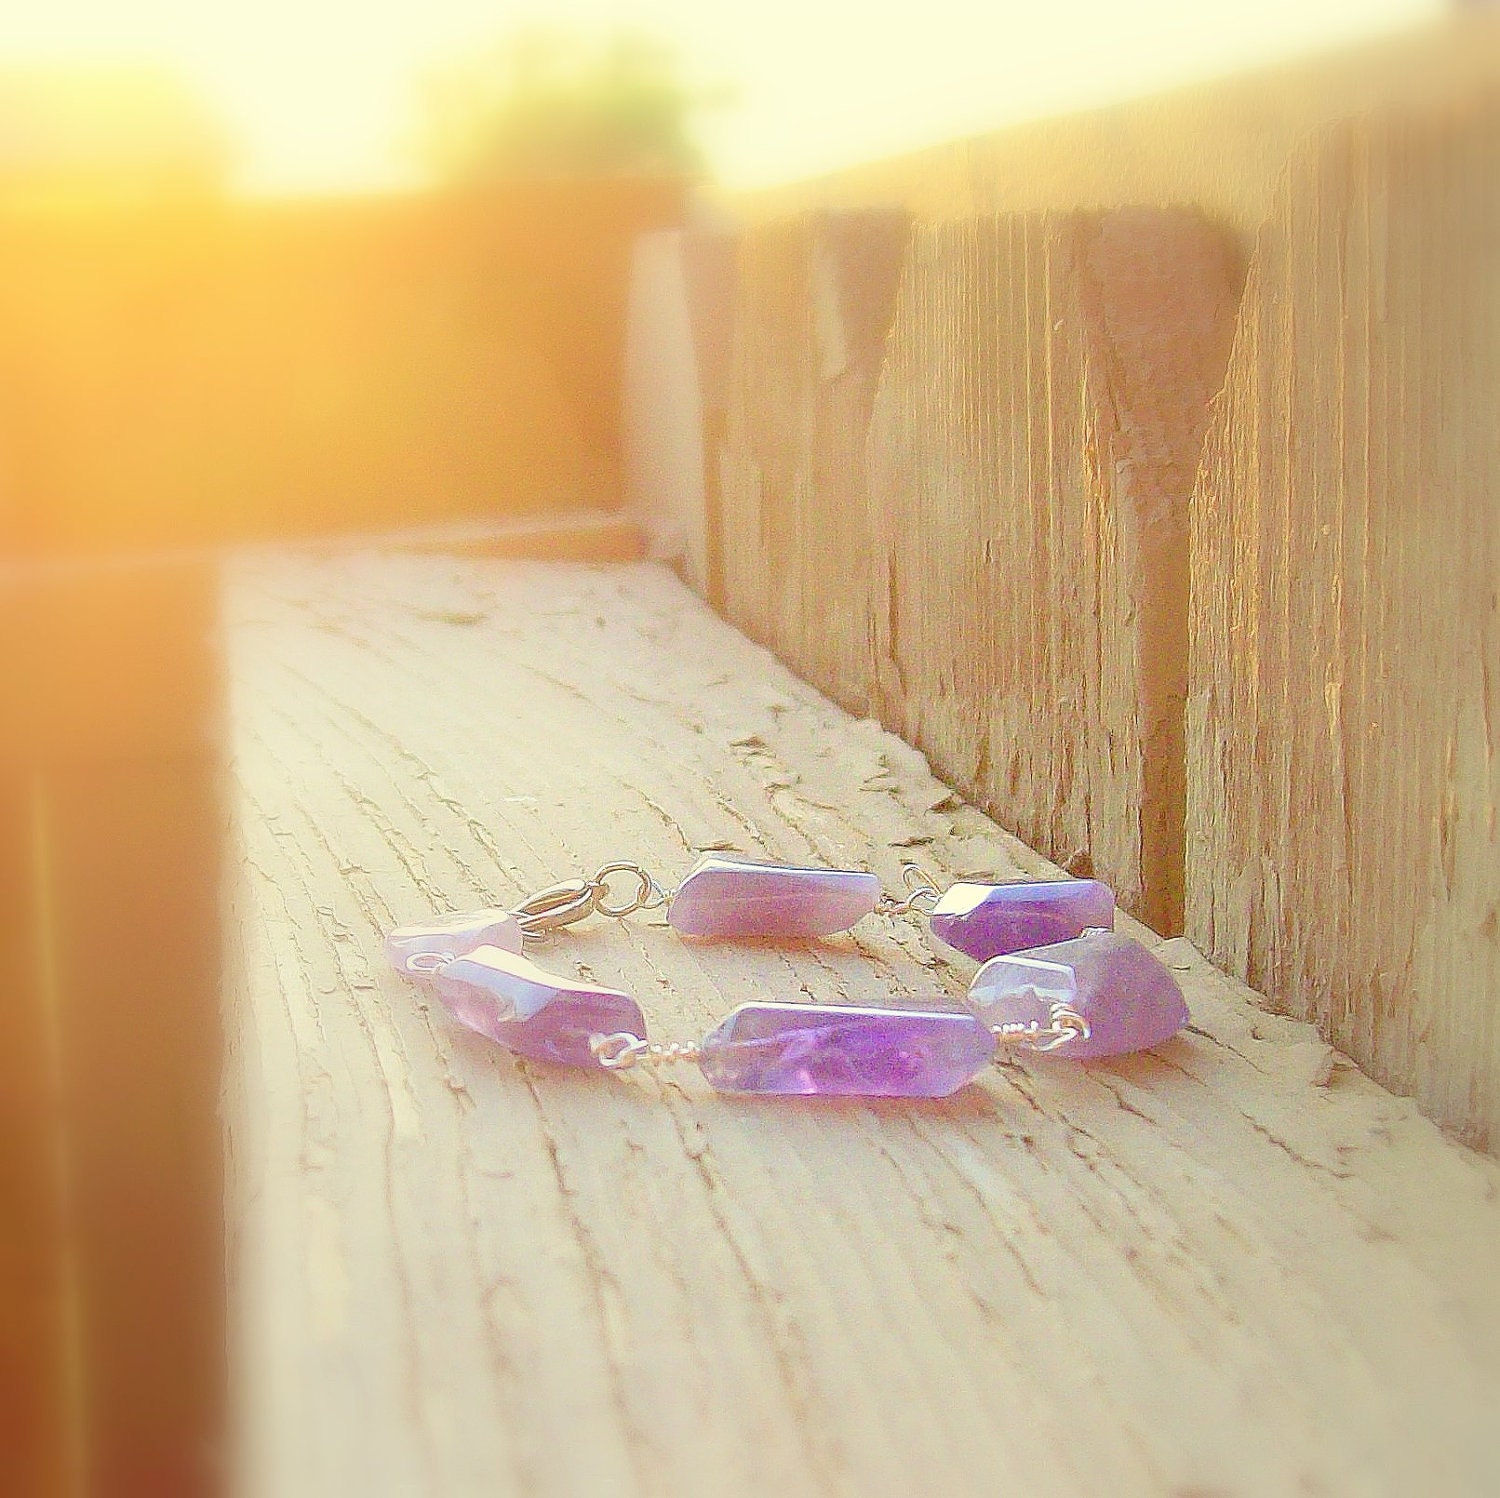
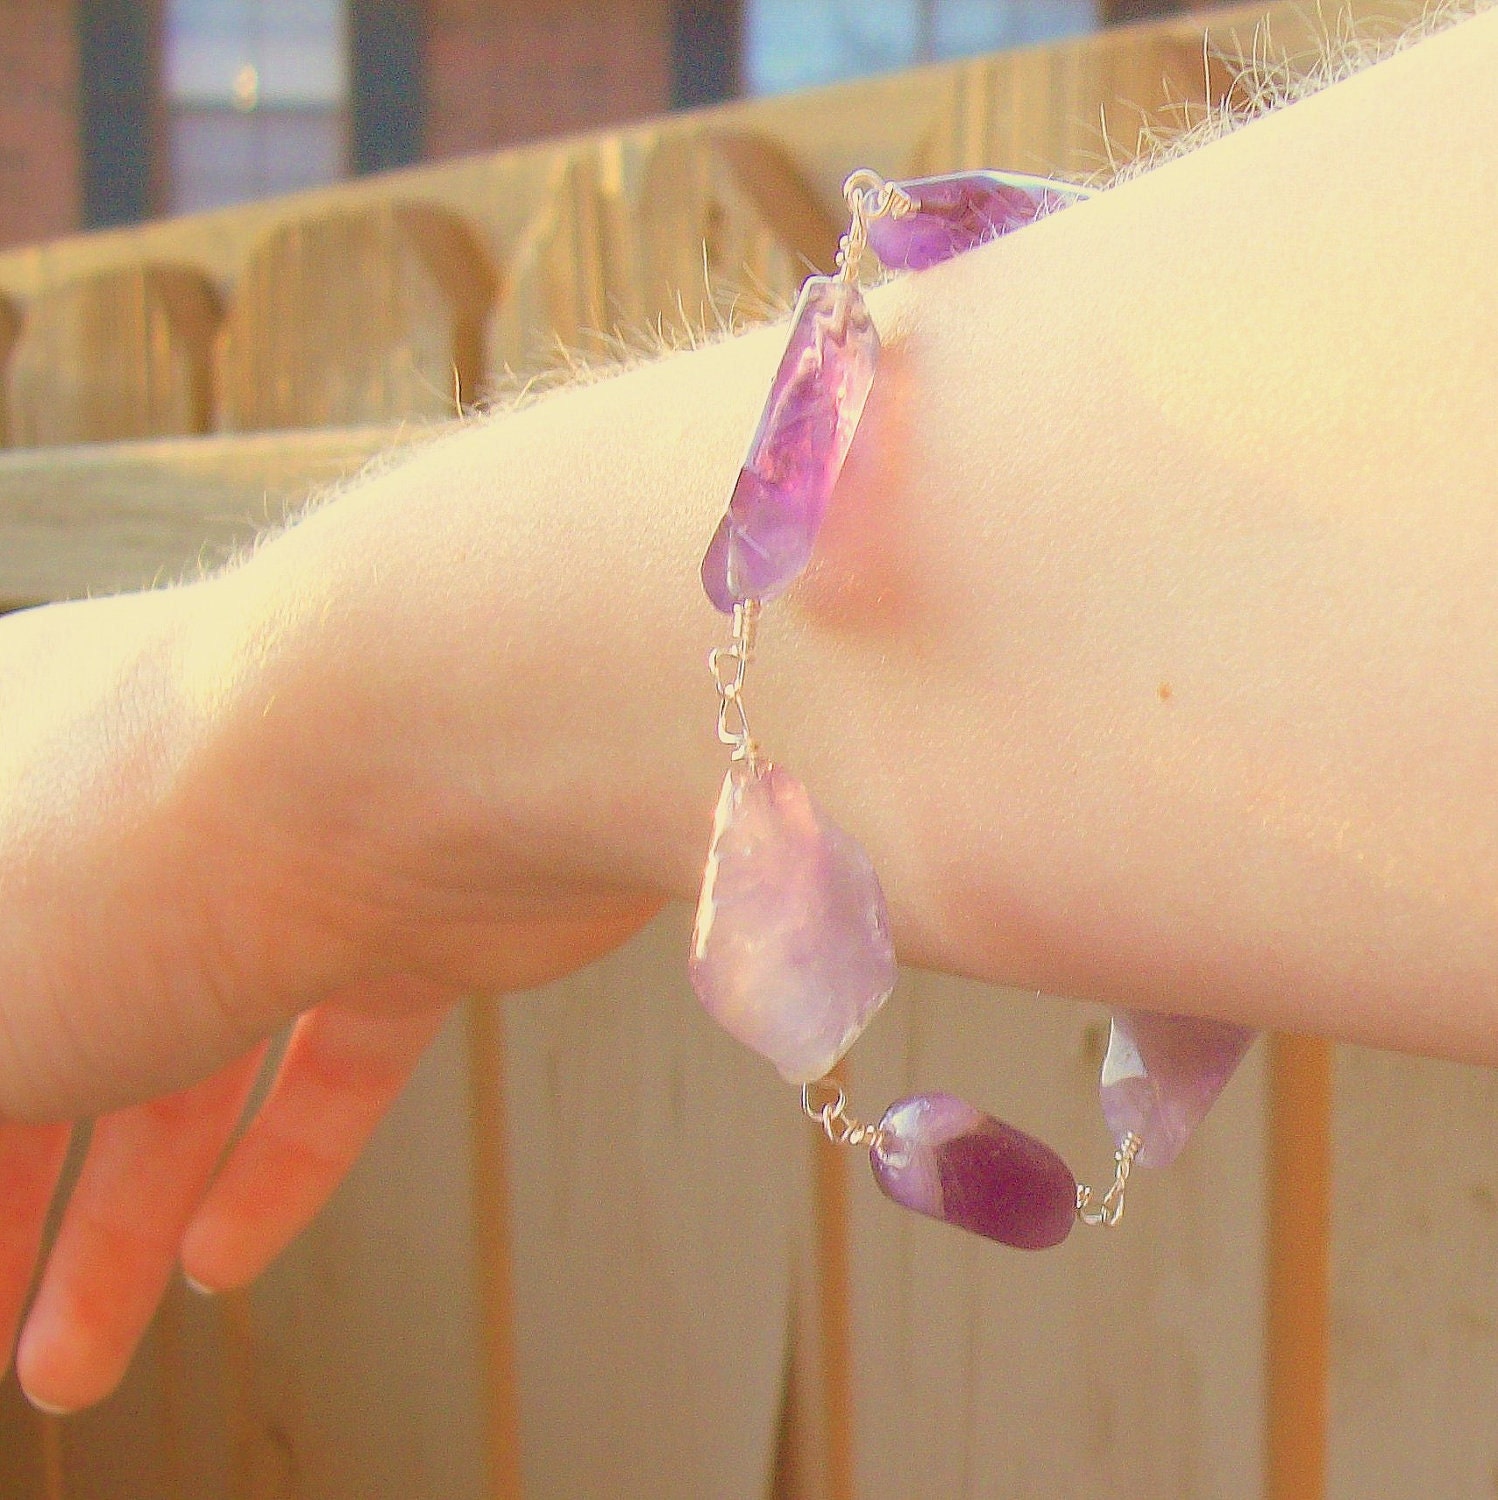
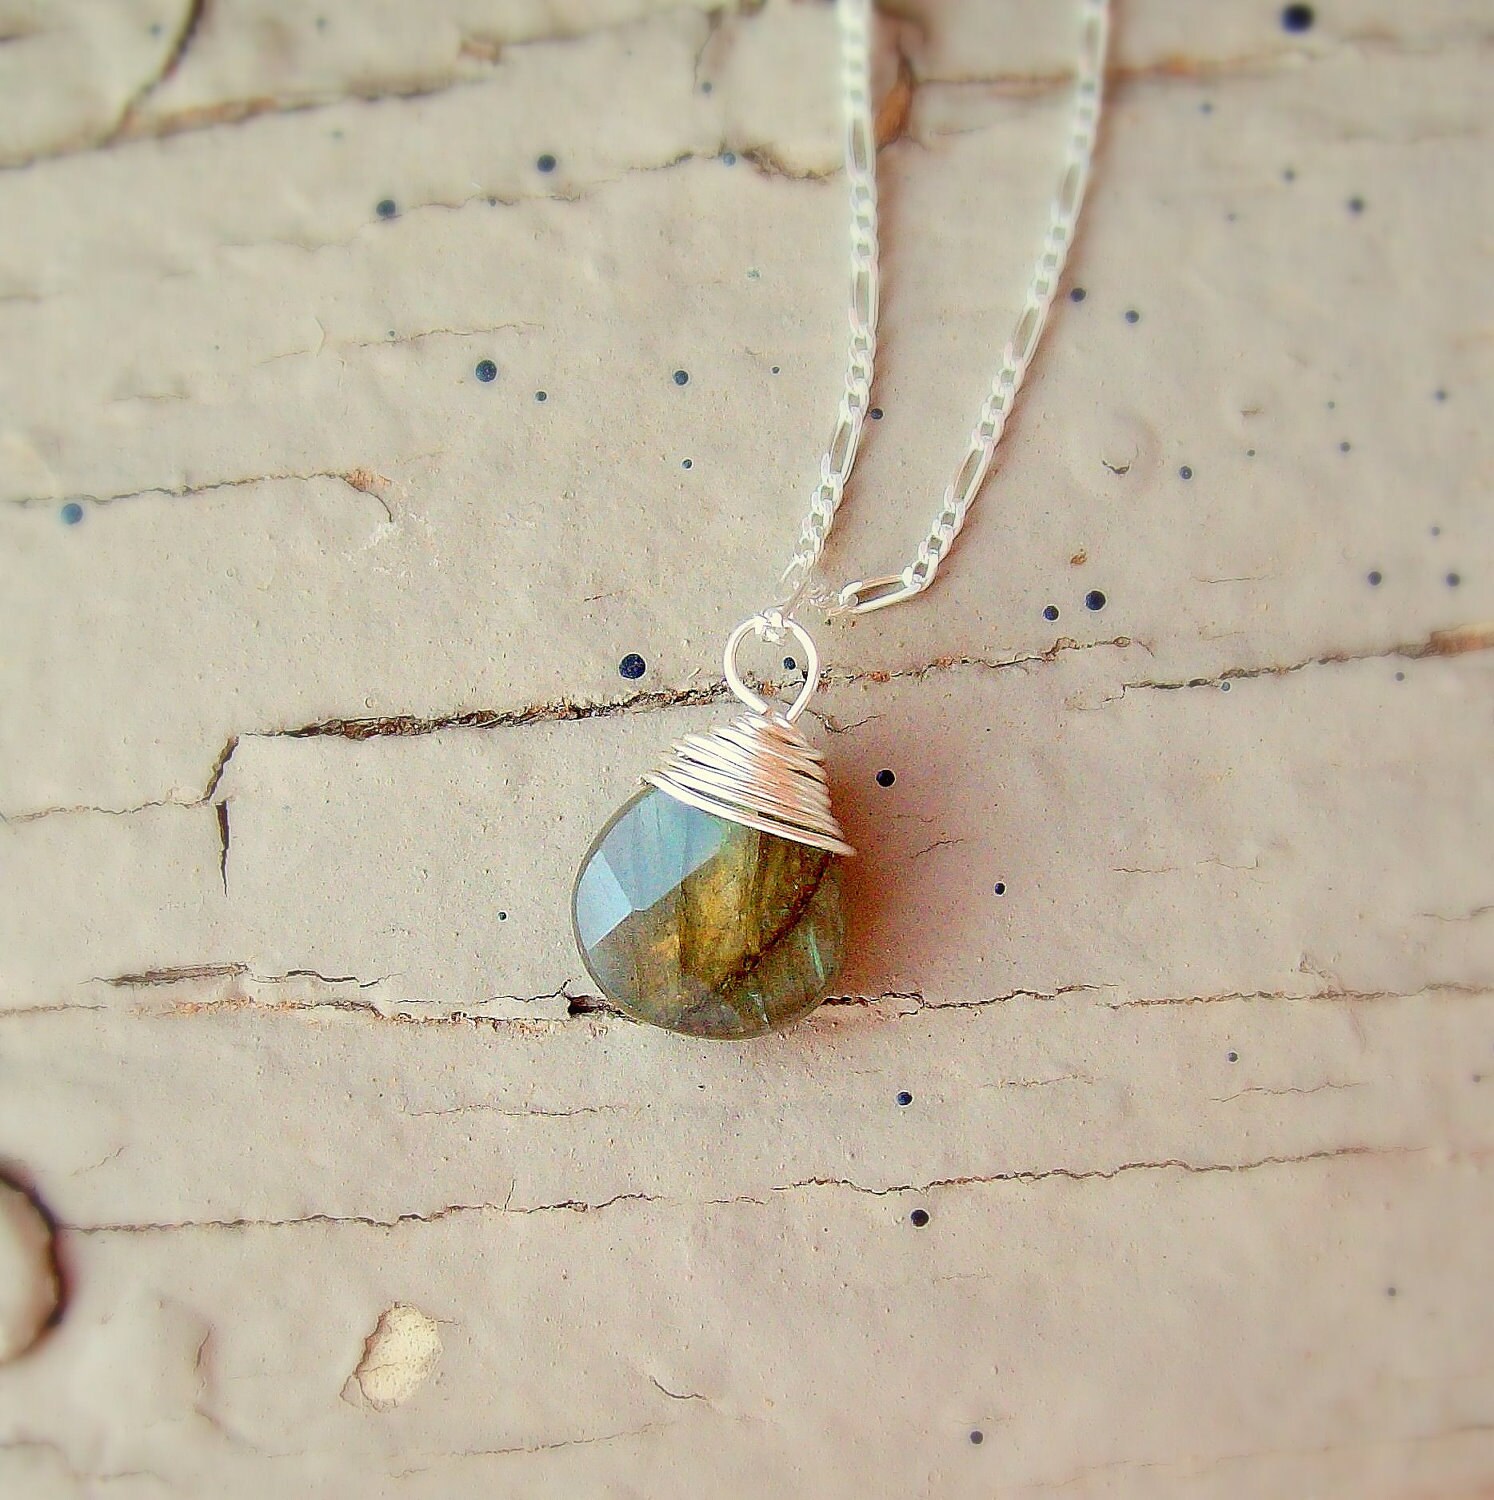
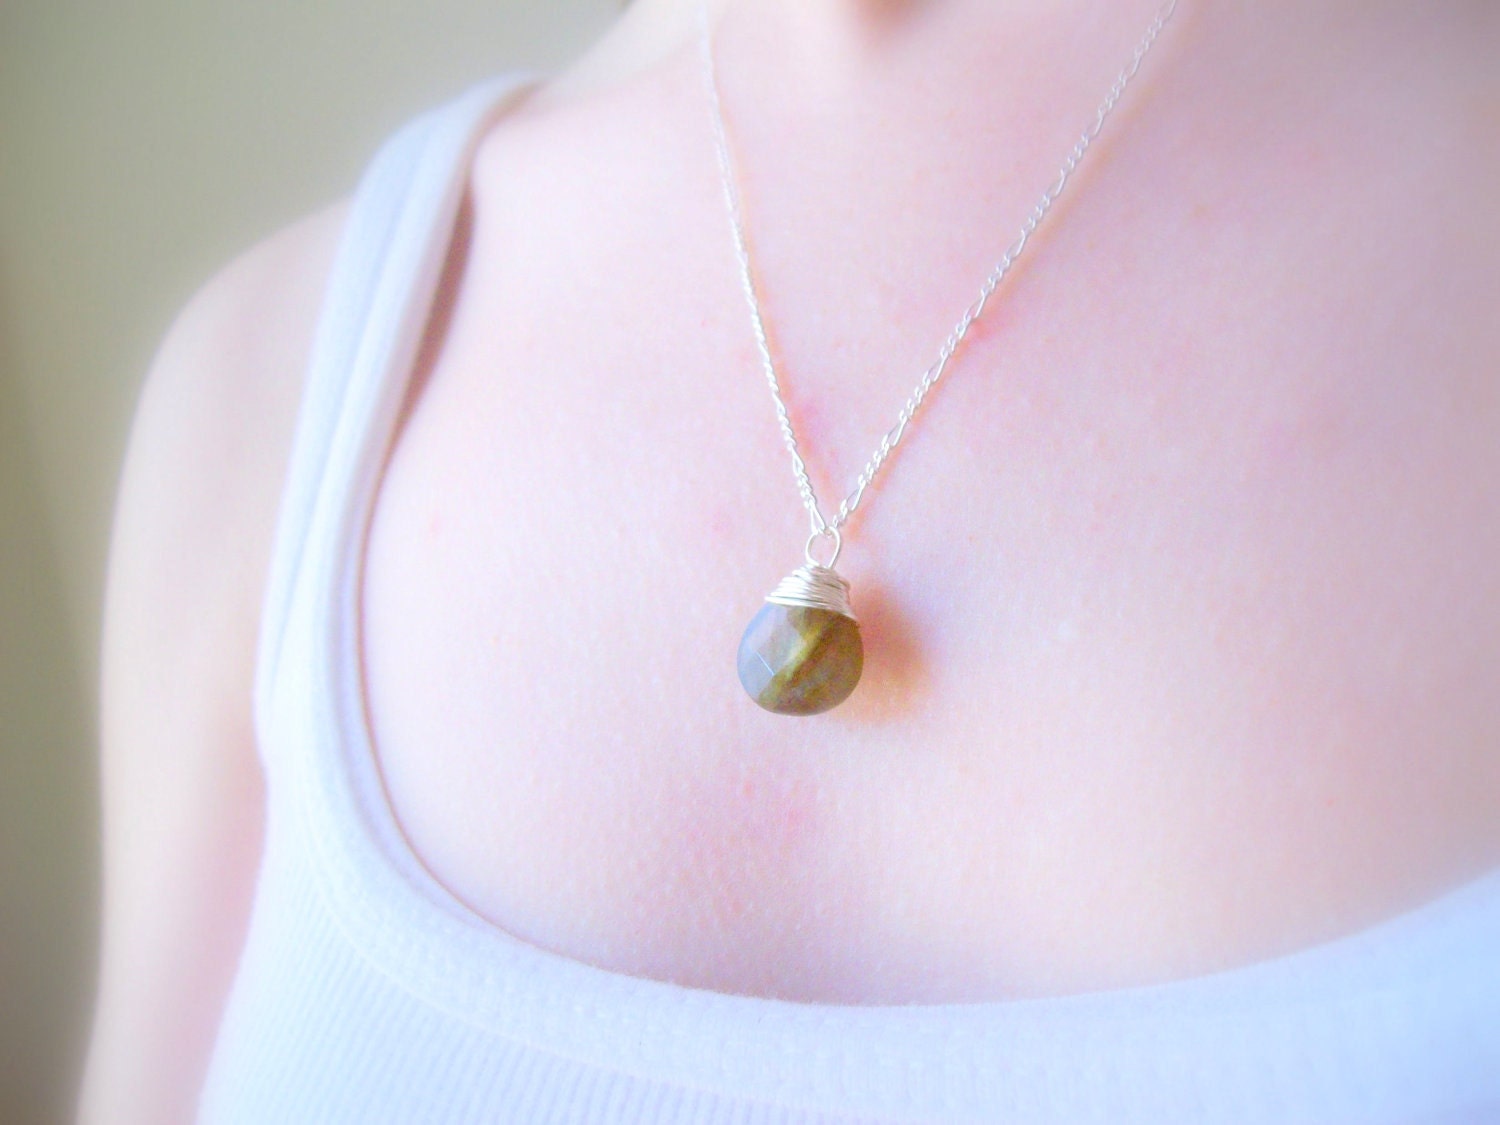
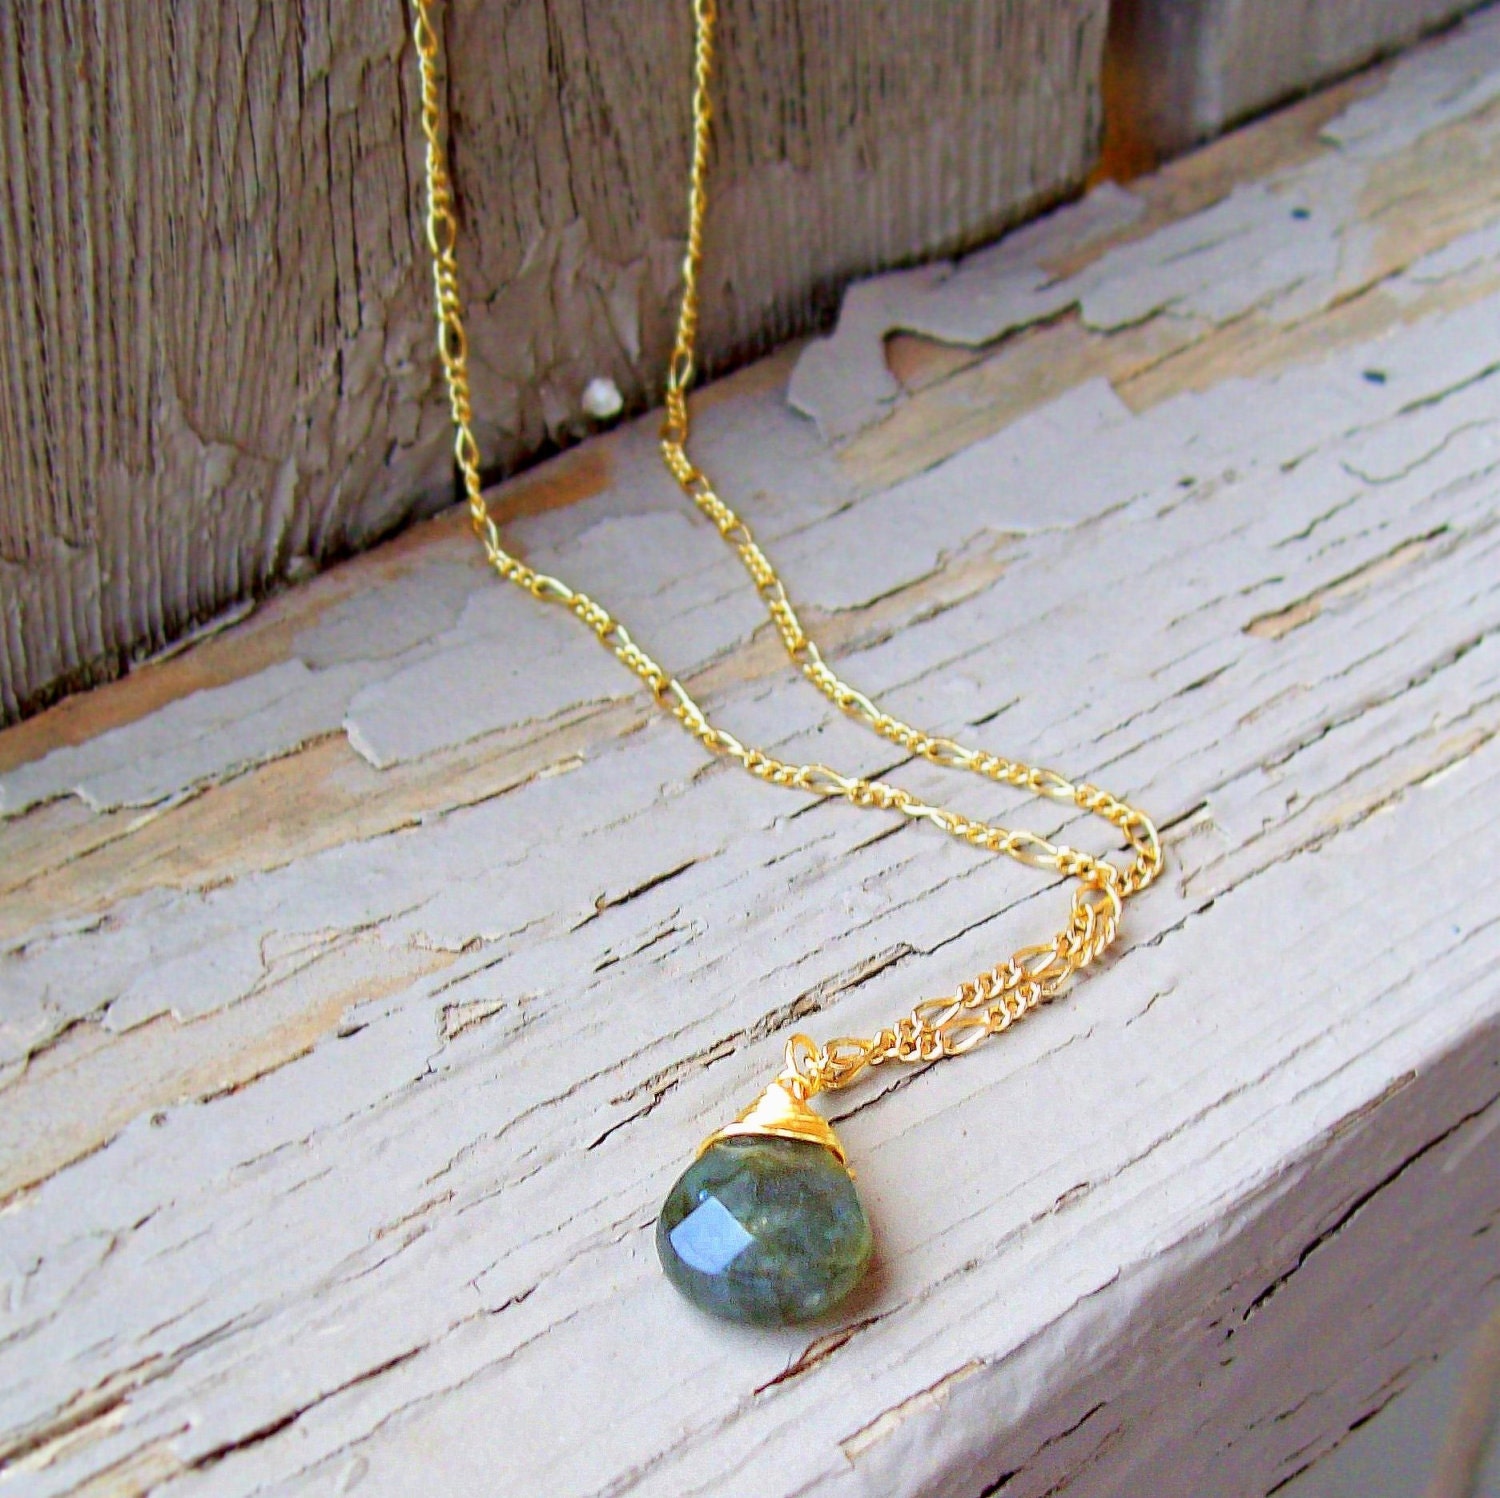
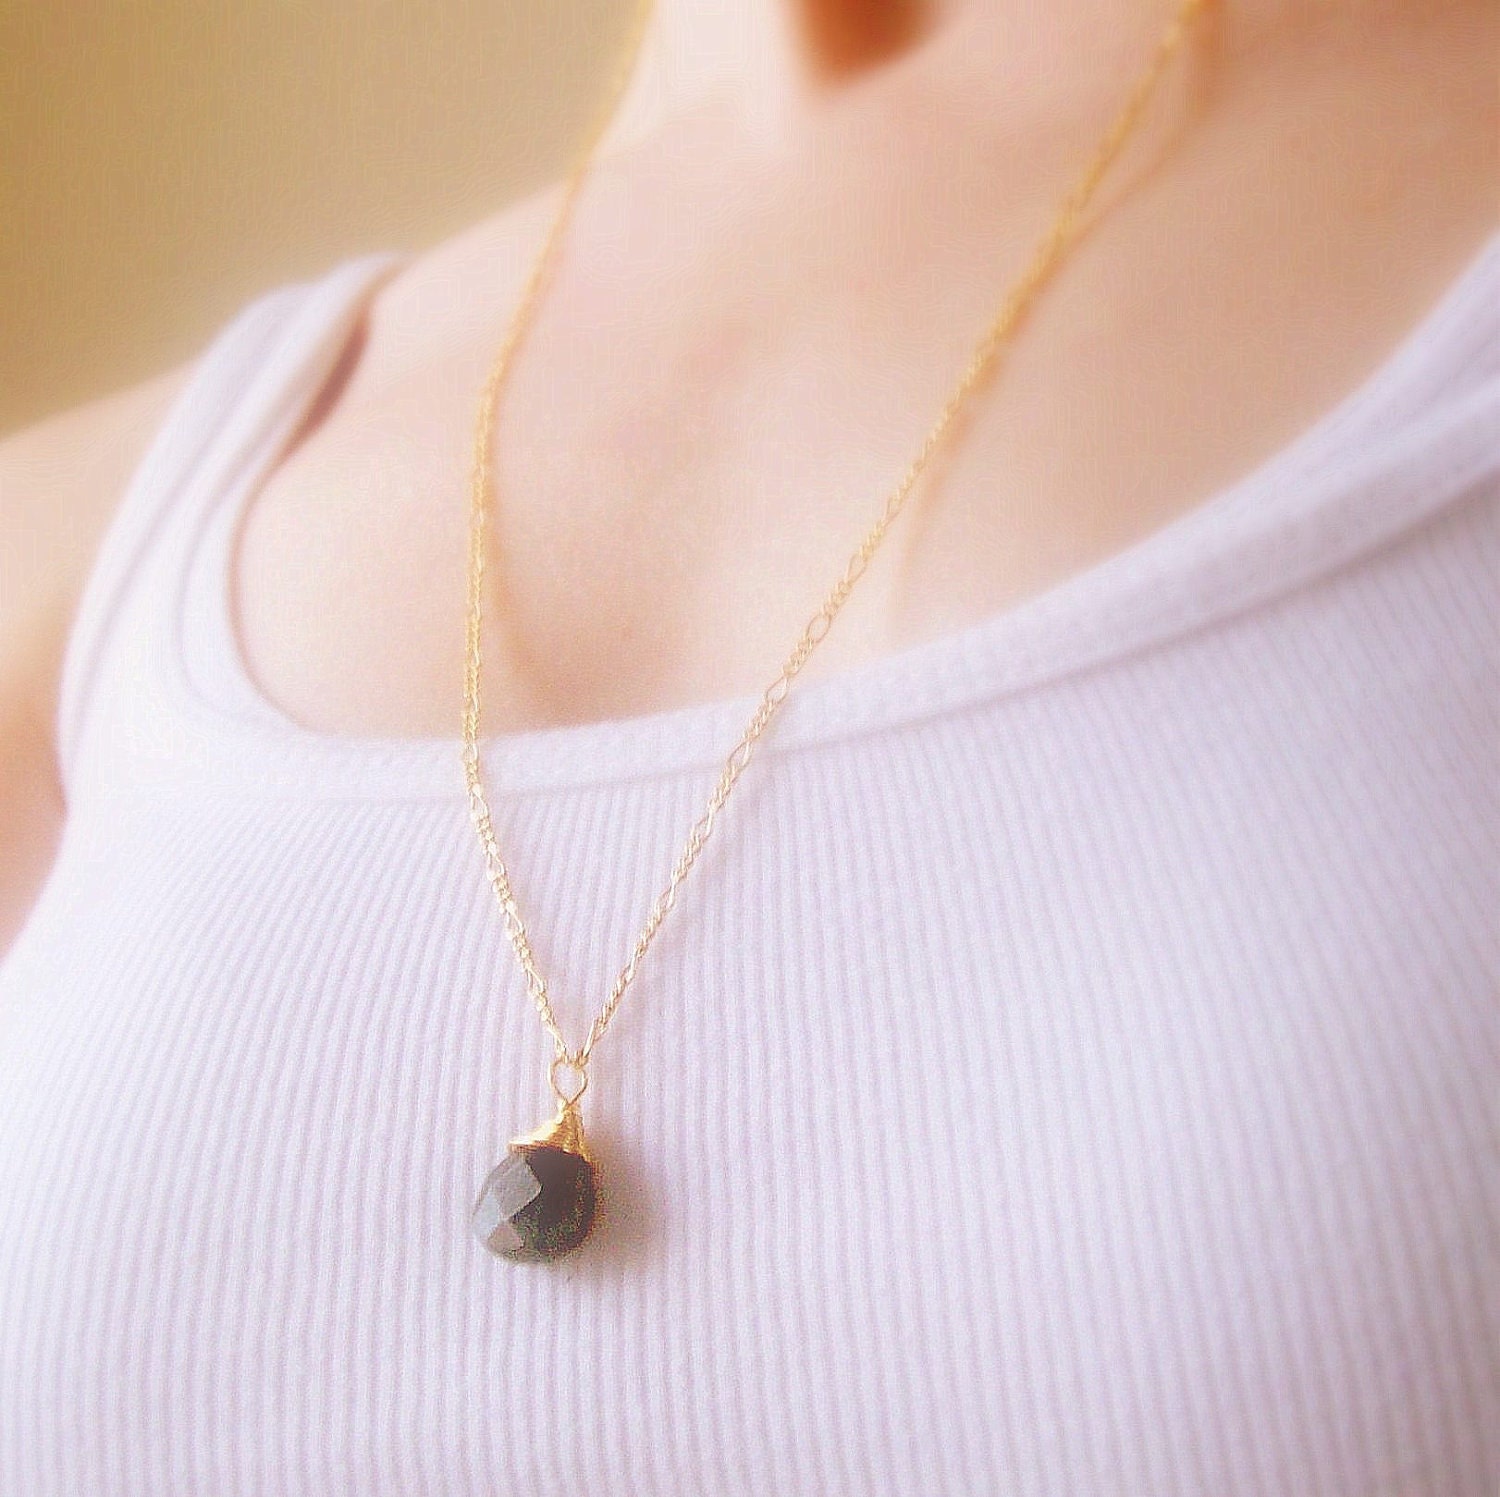
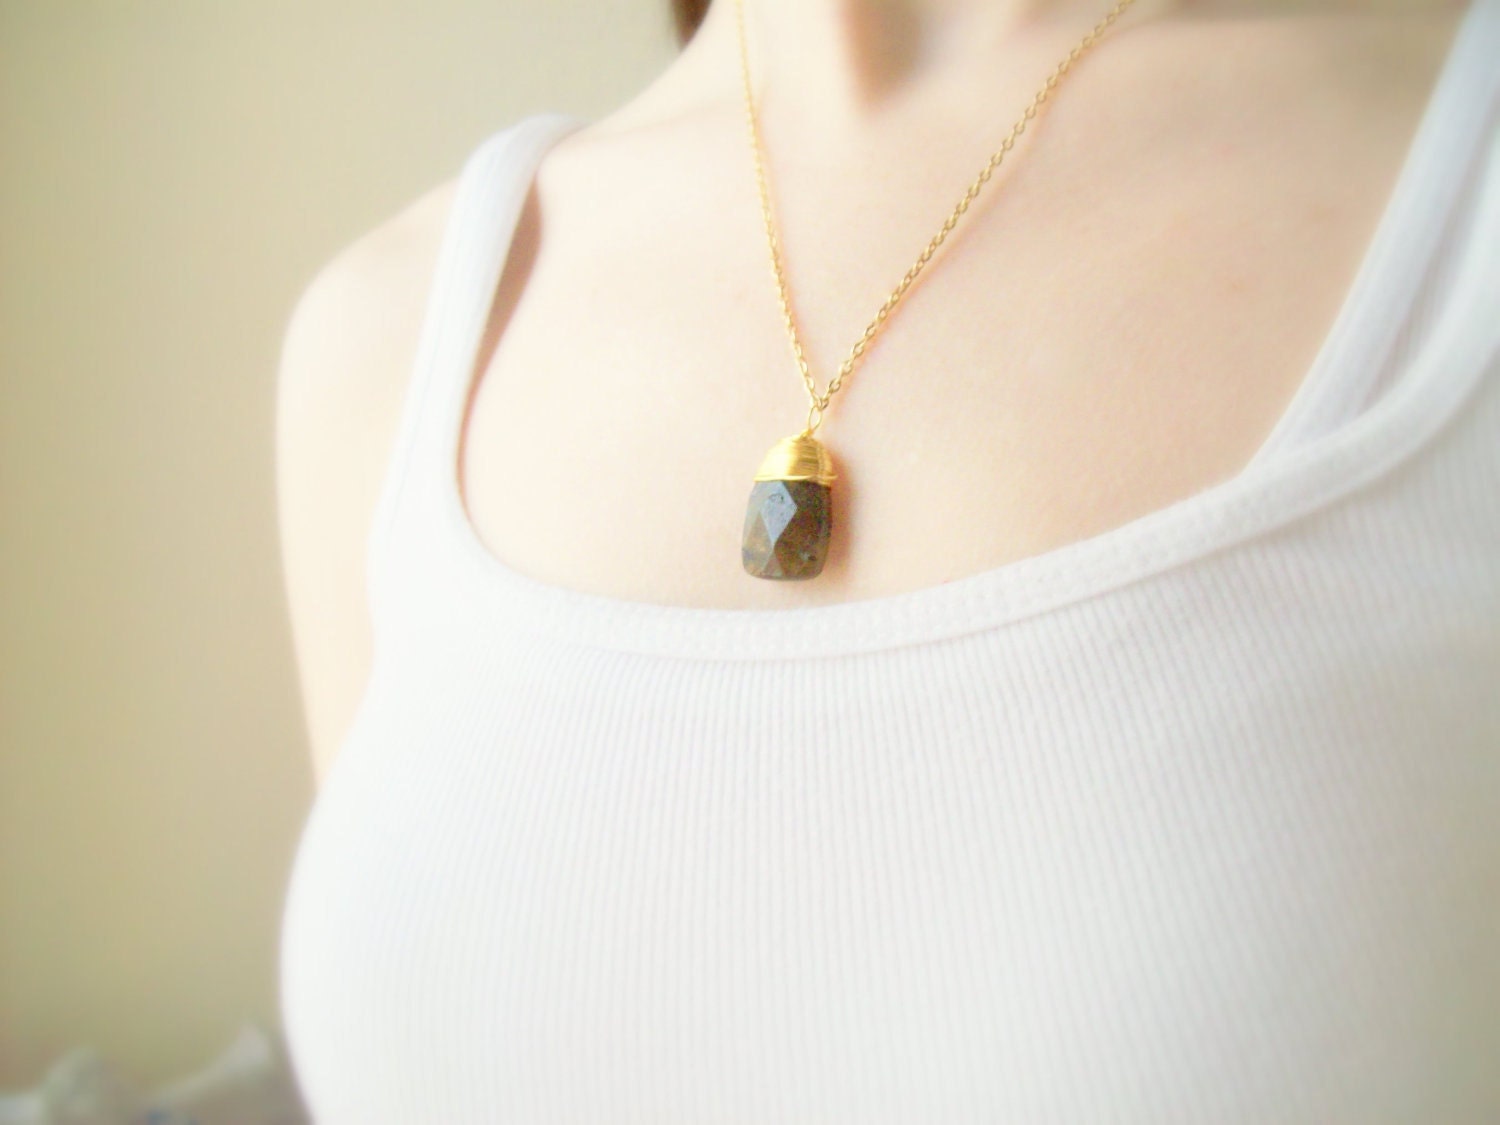
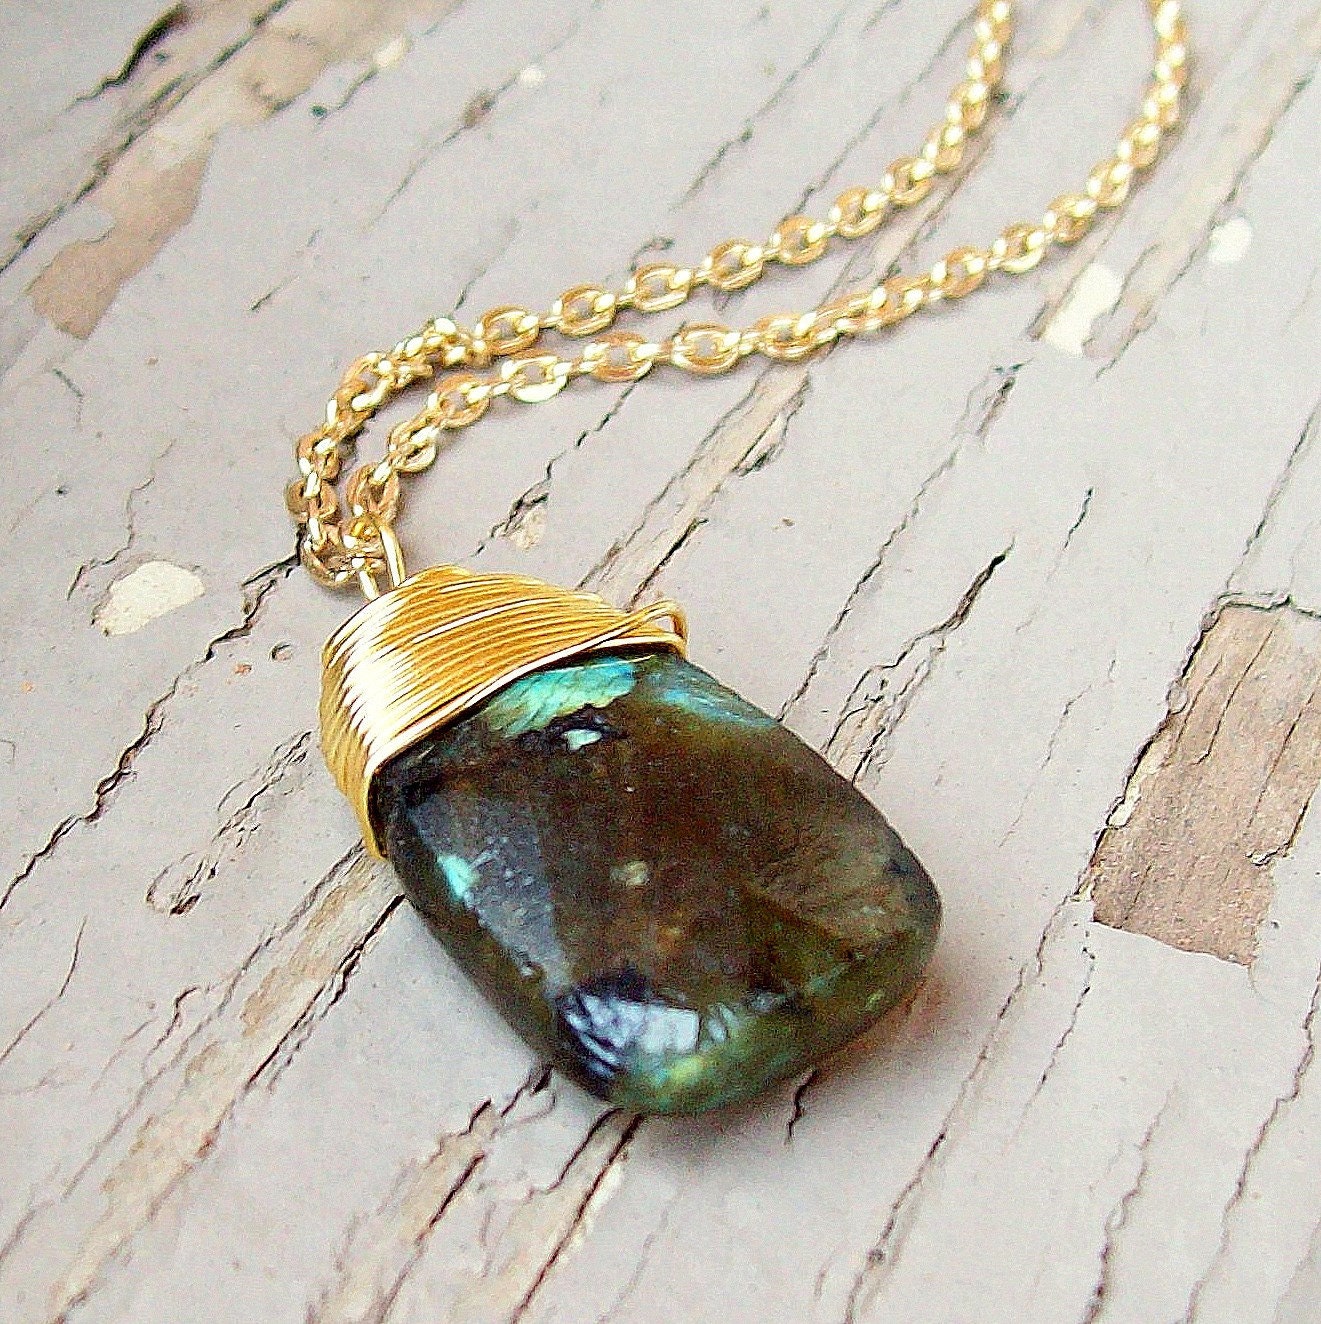
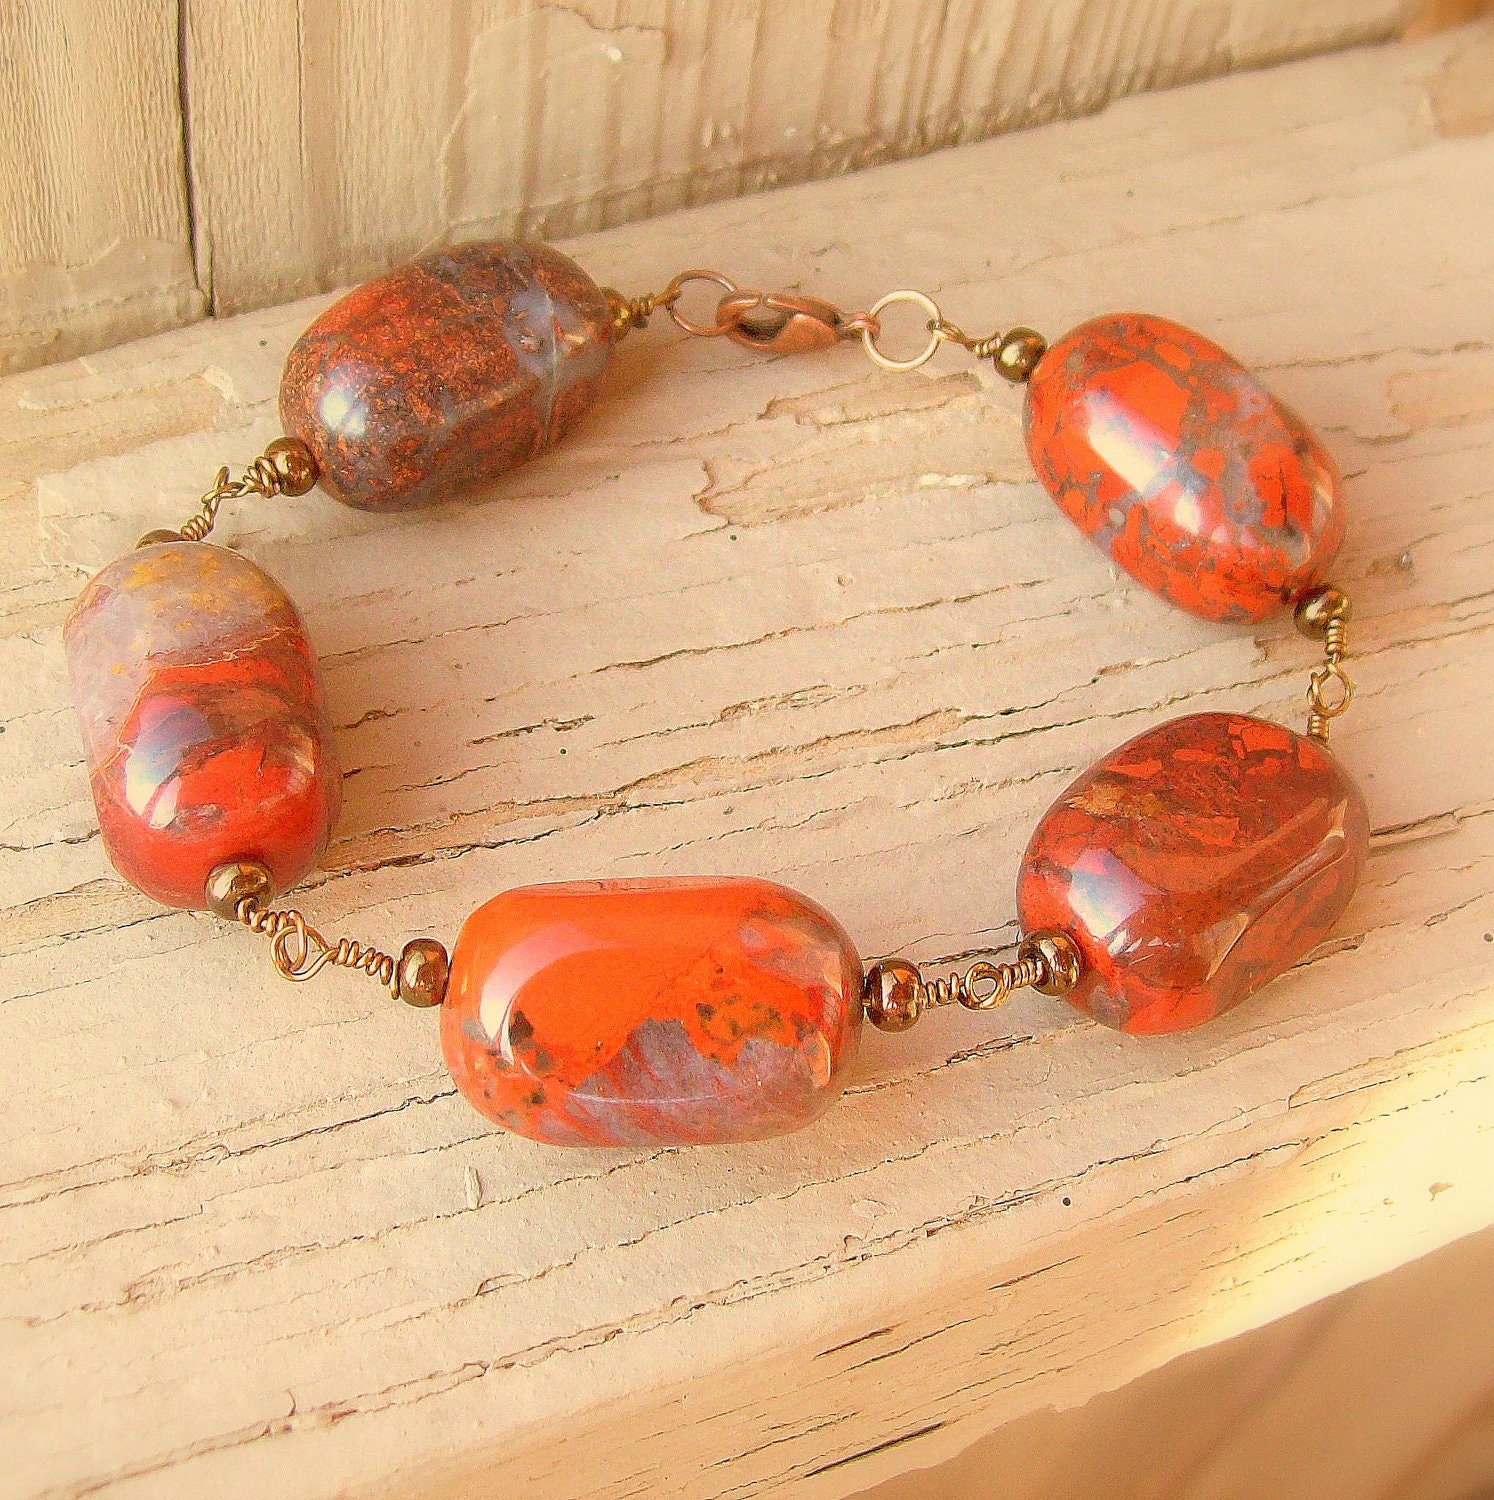
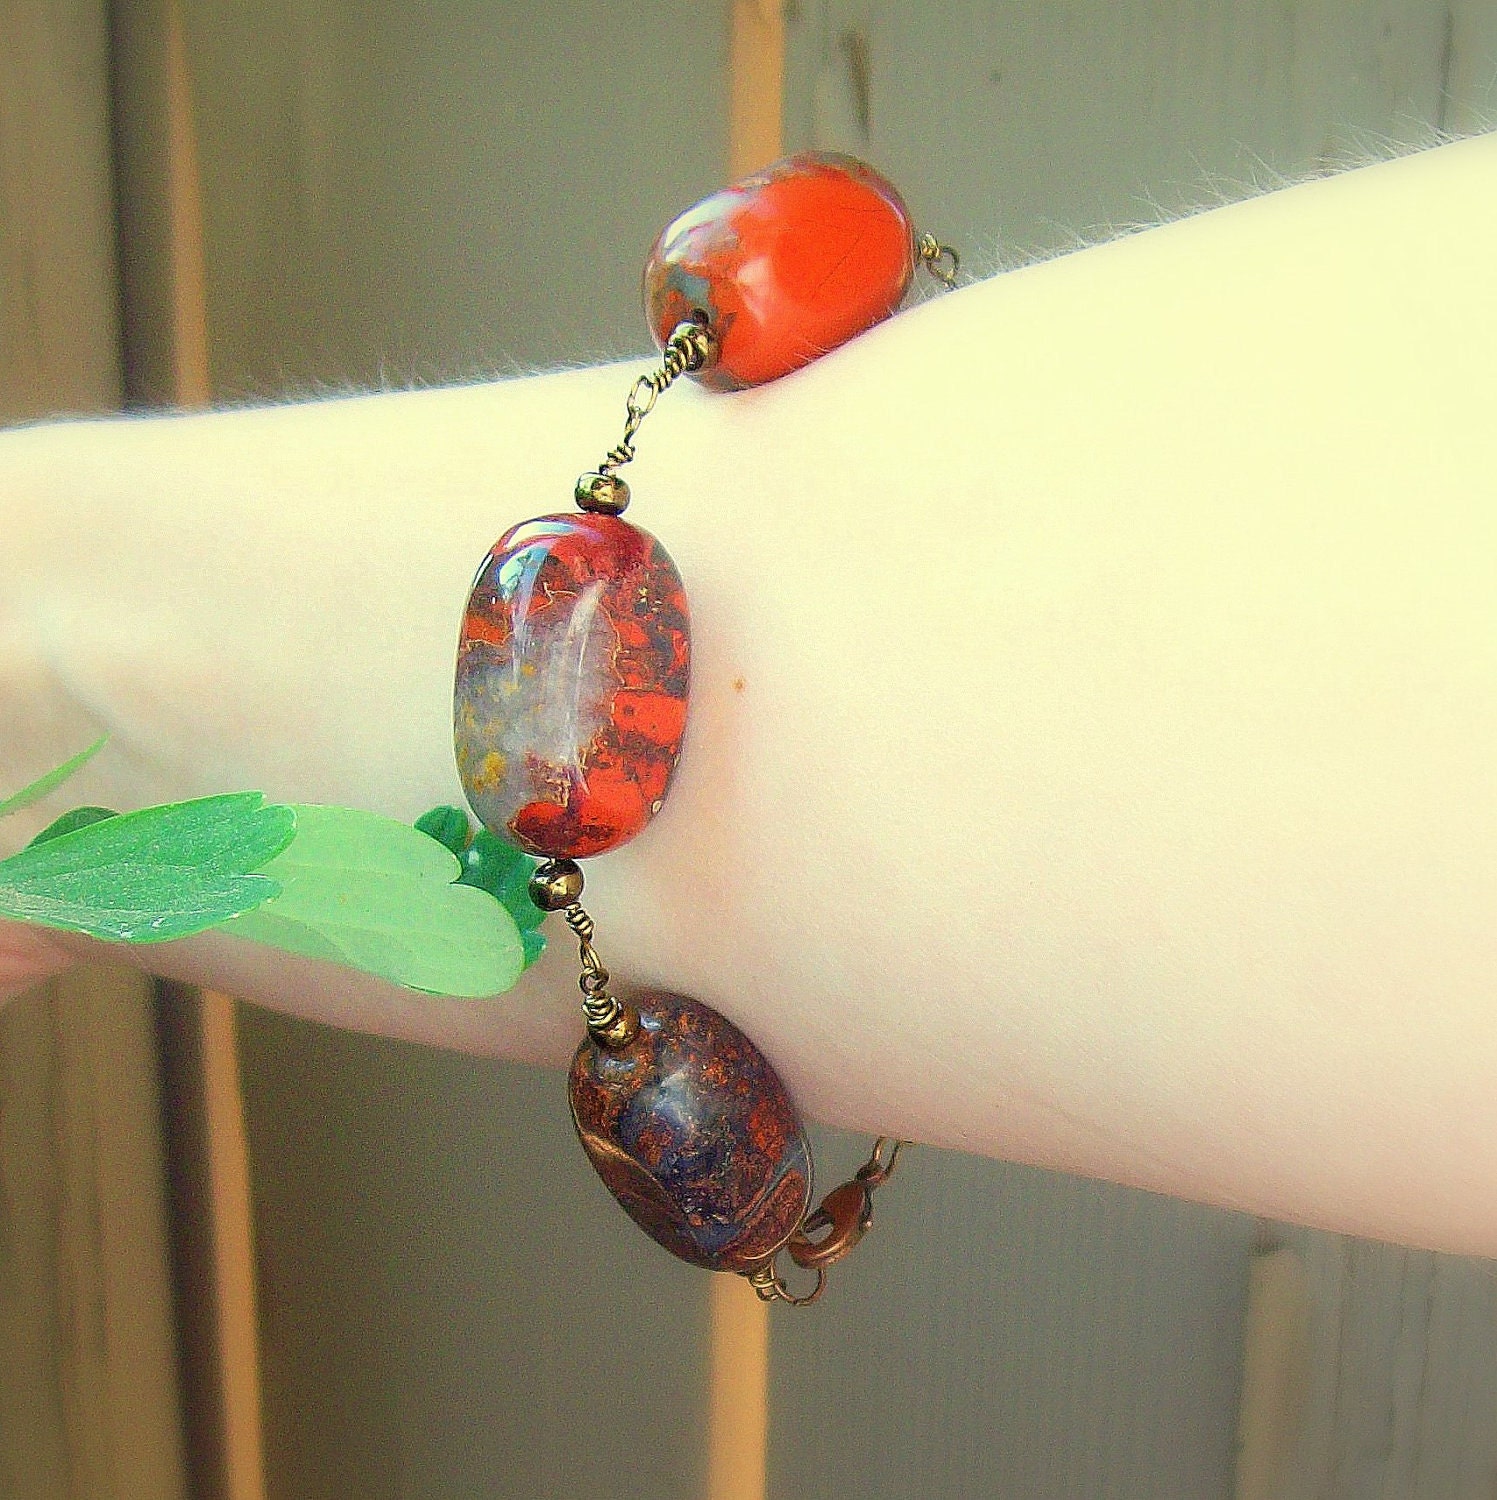
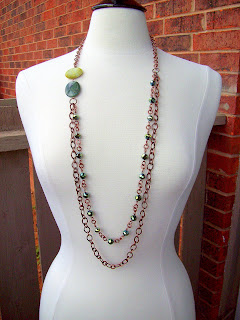
On the other hand, when I think of autumn, I think of richness, luxurious textures, organic shapes and colors. My summer line had a lot of teeny-tiny glass beads. Fall will feature more heavily in semi-precious stones and metals. Layering chains, extra long lengths, and warmth. A lot of the jewelry will be over-sized and chunky. But because I spend most of my days dressing professionally and therefore wanting professional-looking jewelry, not something I picked up at the local hippie's stand at the farmer's market, I try to marry the organic textures and colors with shiny, polished metals for a cosmopolitan look. I'm including some of my favorite pieces here, but there are more at my Etsy shop, Second Street Jewelry. You can also stay updated on Facebook by liking my Facebook page.




Then, to make the transition yet more palatable I took myself to TJ Maxx for a little indulgent back-to-school clothes shopping. I love that, being a teacher on a budget that does not allow for monthly clothes shopping, more like bi-annual shopping, I can rationalize buying large amounts of clothing and shoes by saying, "I need it for the new school year!" My cunning fiance was less than convinced, but didn't stand in my way, either, and even made approving comments on what I brought home. (Especially when he found out that pretty much every item I found was six dollars! Yeah TJ Maxx!)
And now I've taken a transitional step that really says, to me, "Fall is on the way." Adding new fall-inspired jewelry designs to my Etsy shop. You'll notice a significant difference between the summer 2011 designs and the autumn ones. This summer was very light, understated, and almost not-there. The inspiration came from the heat that came fast and furious early in the season, unrelenting heat that made even putting on clothes undesirable. So who wants to be weighed down with a lot of bulky jewelry when it's a fight to even wear a shirt that's just going to end up sticking to you in ten minutes? Not I! I created a line that I called, "Nearly Nude Necklaces," so light and barely-there. They were kind of a hit, and I ended up selling quite a few, often in bulk amounts to brides for their wedding parties!
On the other hand, when I think of autumn, I think of richness, luxurious textures, organic shapes and colors. My summer line had a lot of teeny-tiny glass beads. Fall will feature more heavily in semi-precious stones and metals. Layering chains, extra long lengths, and warmth. A lot of the jewelry will be over-sized and chunky. But because I spend most of my days dressing professionally and therefore wanting professional-looking jewelry, not something I picked up at the local hippie's stand at the farmer's market, I try to marry the organic textures and colors with shiny, polished metals for a cosmopolitan look. I'm including some of my favorite pieces here, but there are more at my Etsy shop, Second Street Jewelry. You can also stay updated on Facebook by liking my Facebook page.

Carnielian chip bracelet

Carnelian chip earrings

Jasper necklace

Turquoise (howlite) necklace

Unakite necklace

Turquoise, jasper, and glass necklace

Carnelian pendant with skeleton key double-necklace

Blue jade necklace

Turquoise (howlite) earrings