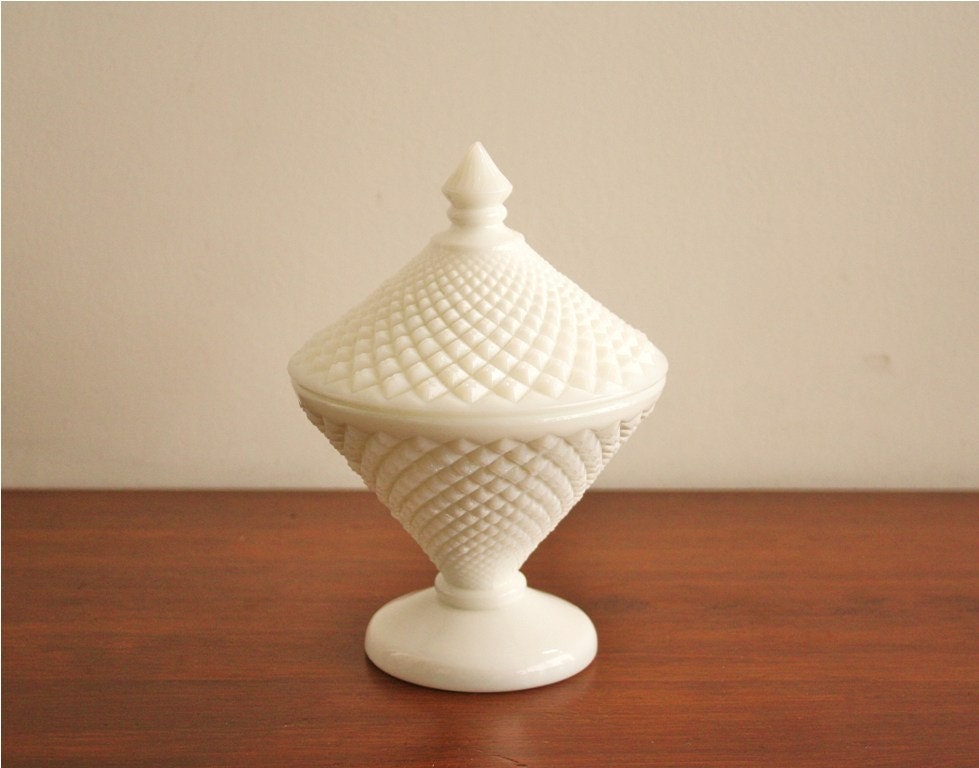
My Nana always filled her home with beautiful antiques and vintage heirlooms, from china cabinets, to porcelain dolls, Depression glass, blue onion china, and my new favorite, milk glass, named for its color and luster.
I once thought it was an artistry from the early- to mid-twentieth century, but after quick research, I was surprised to learn that this art was developed in 17th century Italy. It was made in all colors, but white became so popular it received its own title, originally being called opal glass. Usually opaque, but at times translucent, the name milk glass wasn't used until recent years.
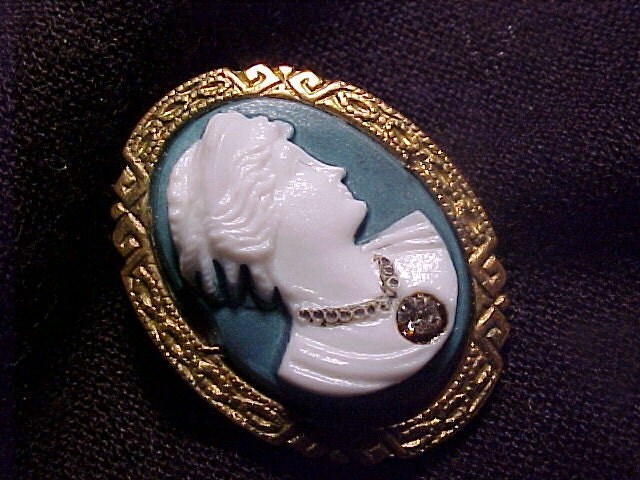
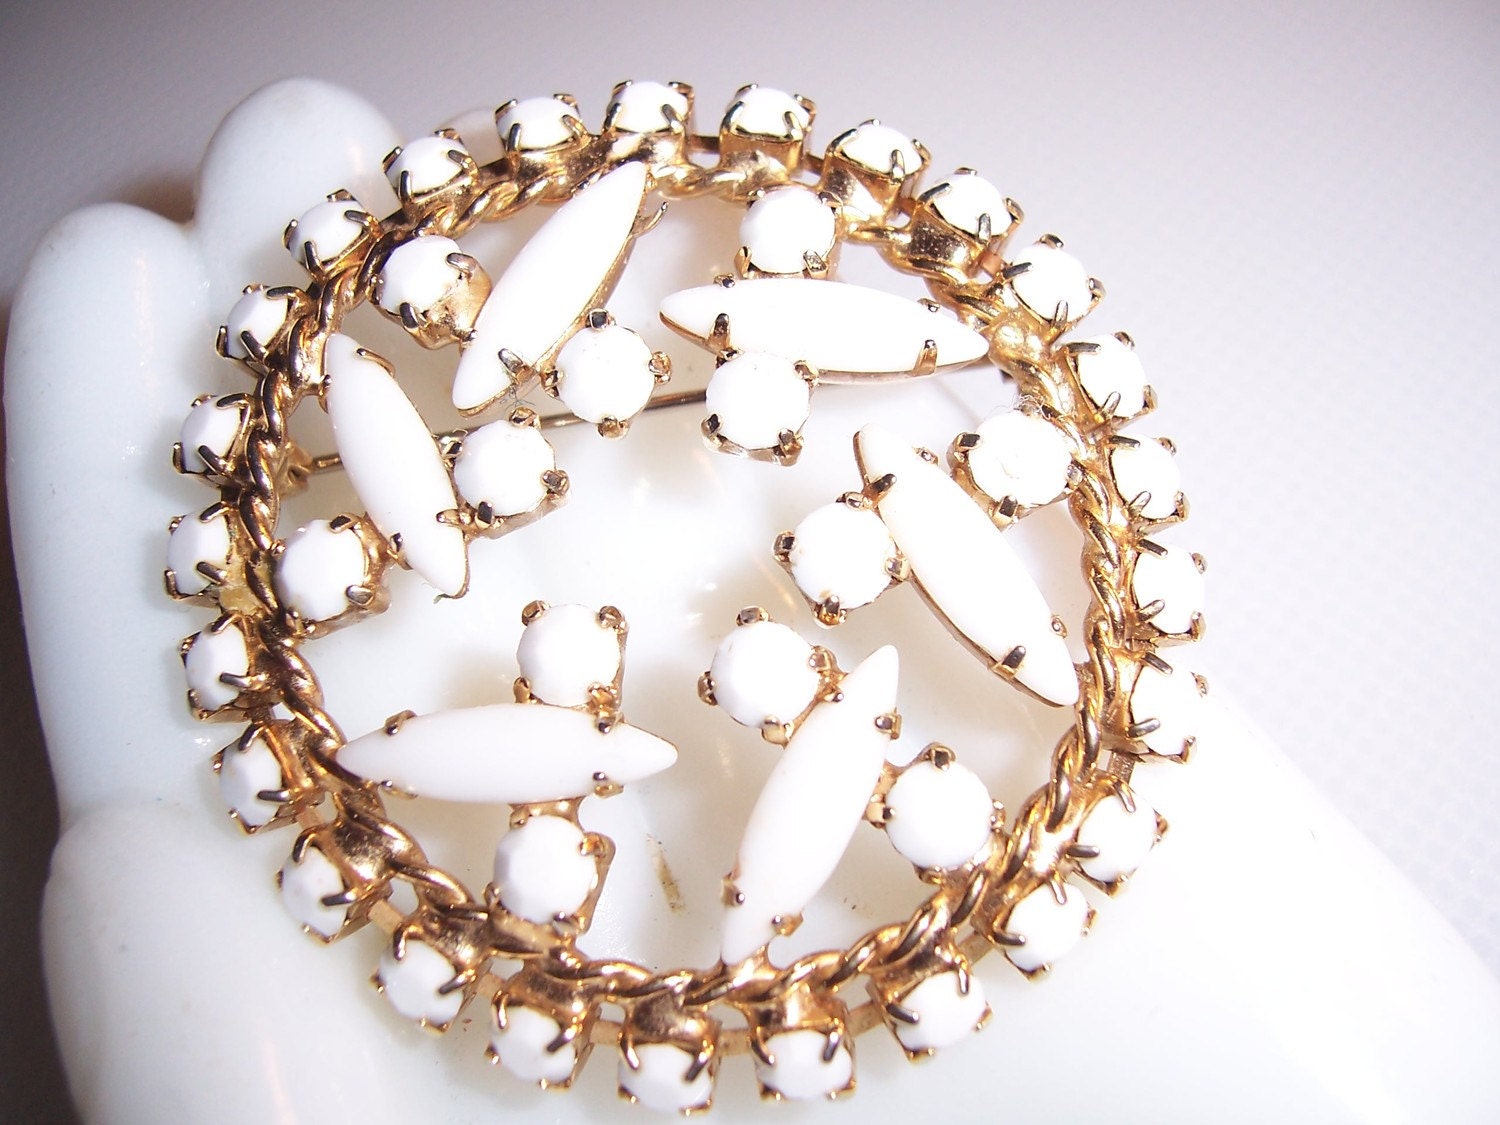
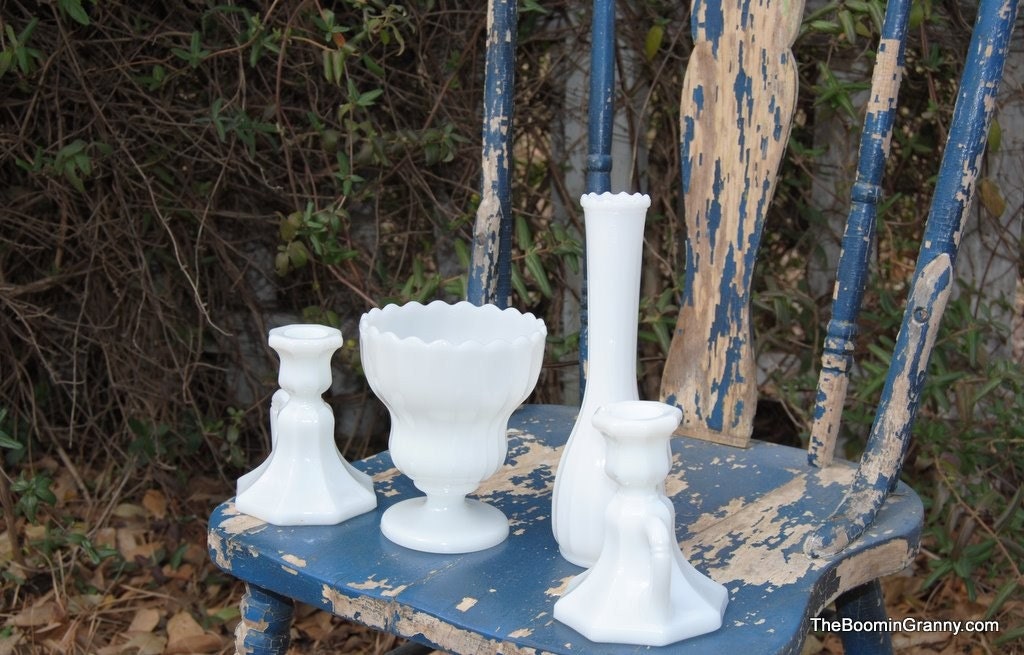
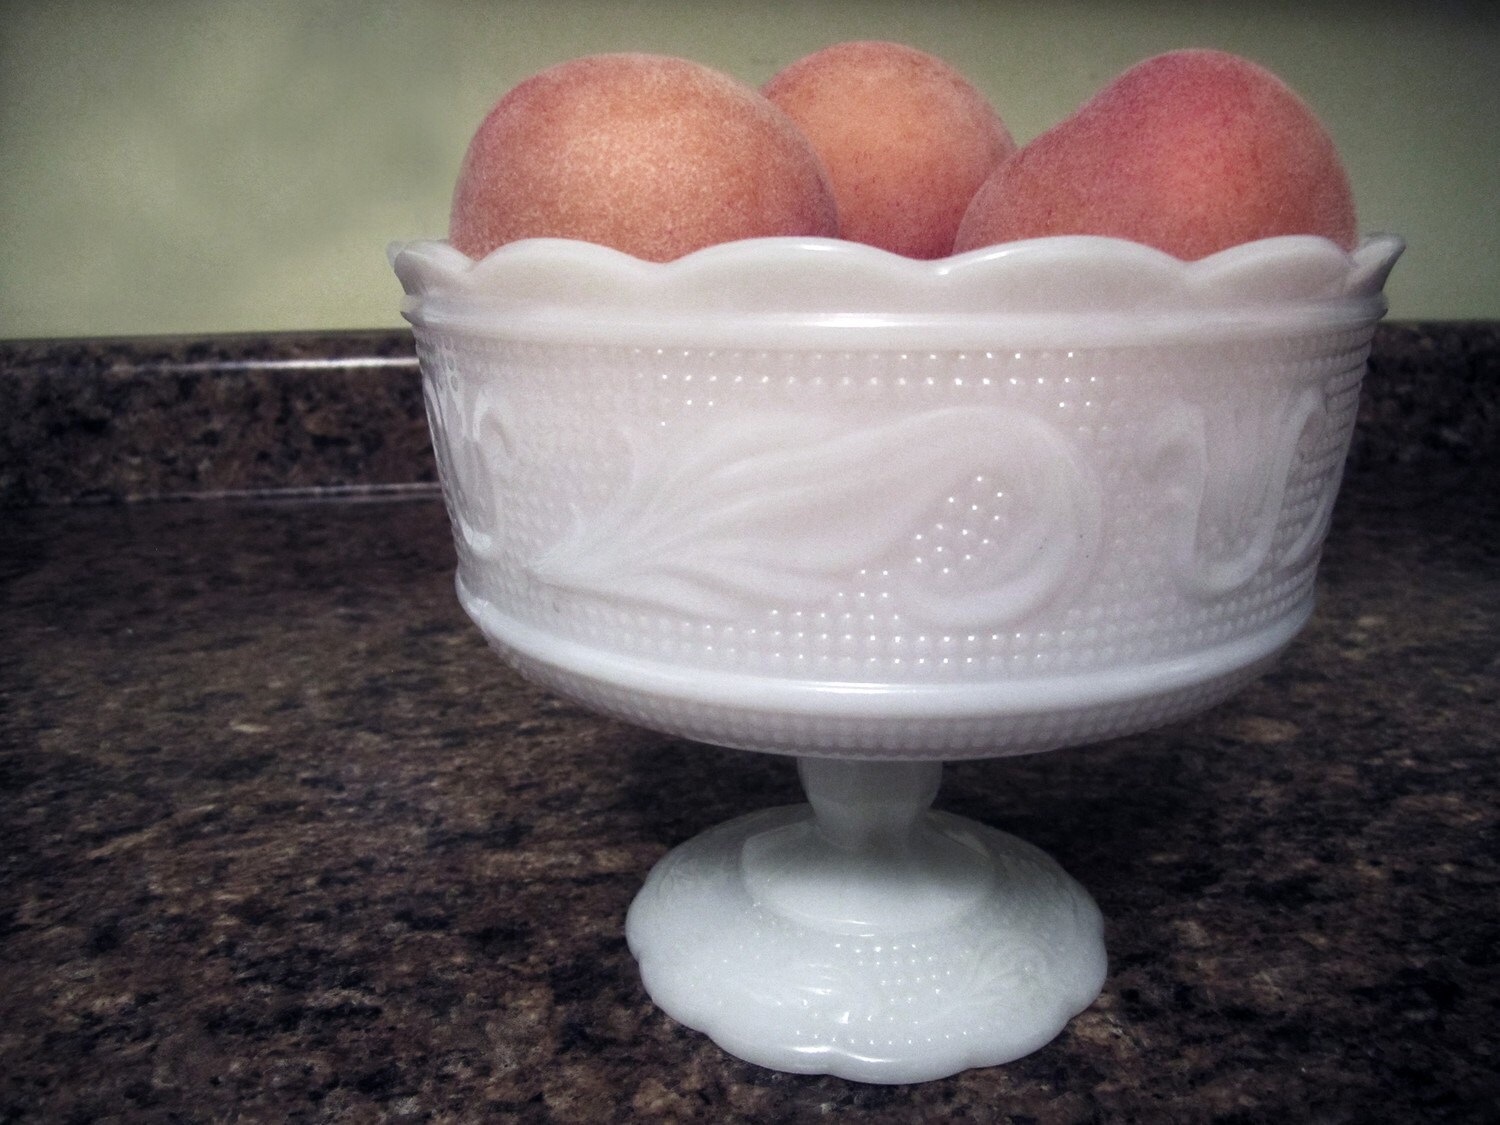
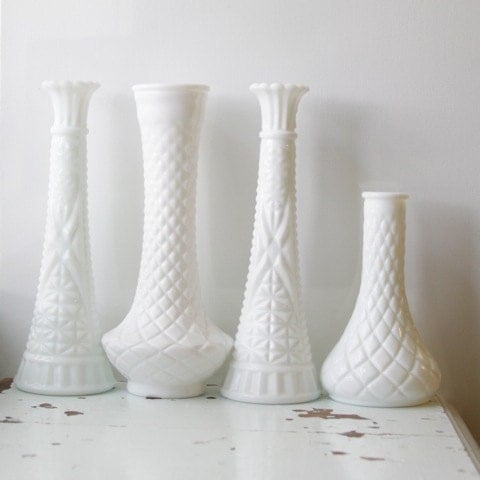
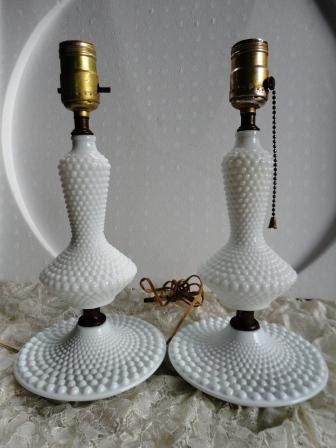
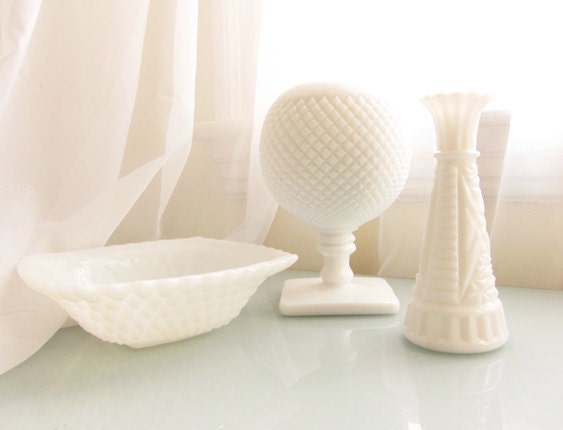
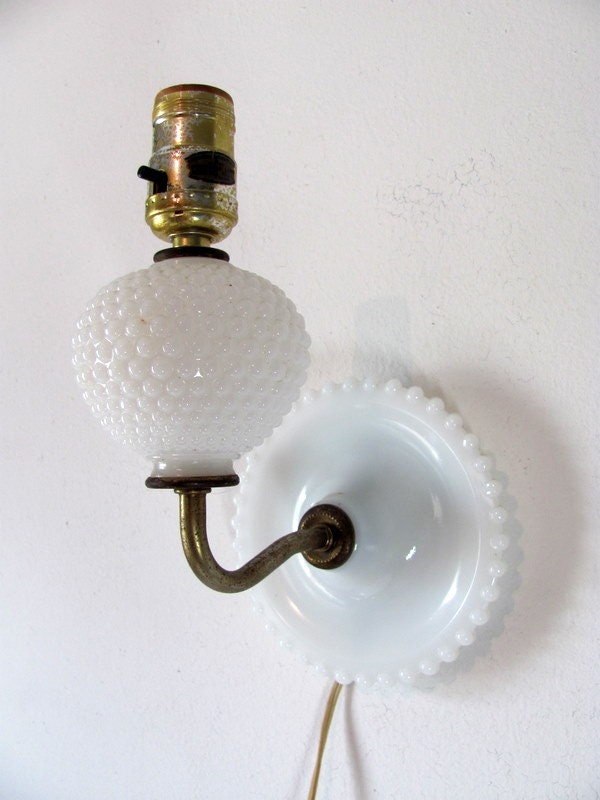
All kinds of items have been made in milk glass, from dishes and lamps to jewelry. The most valuable pieces are decades, if not centuries old, while the more recent "Depression" milk glass, while still valuable, is less so. But the good news is that these beautiful pieces are surprisingly affordable. You can often find 20th century milk glass in any antique store, and I know that next time I'm in one with money to burn, I'll be sure to pick up a piece to start a collection.
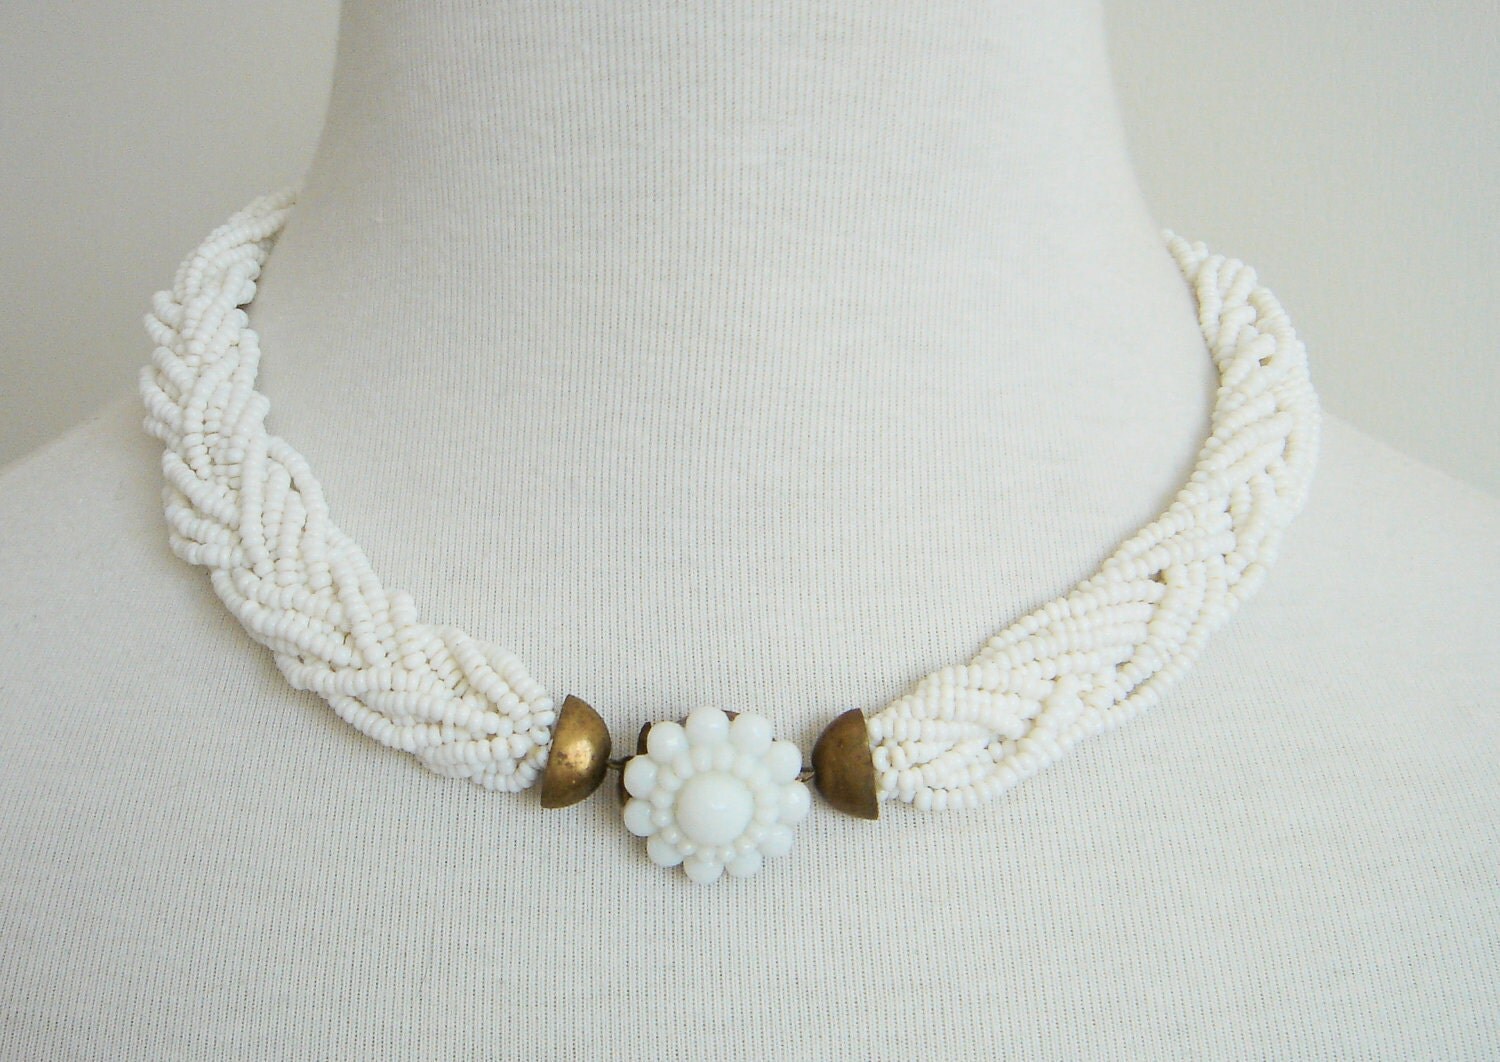
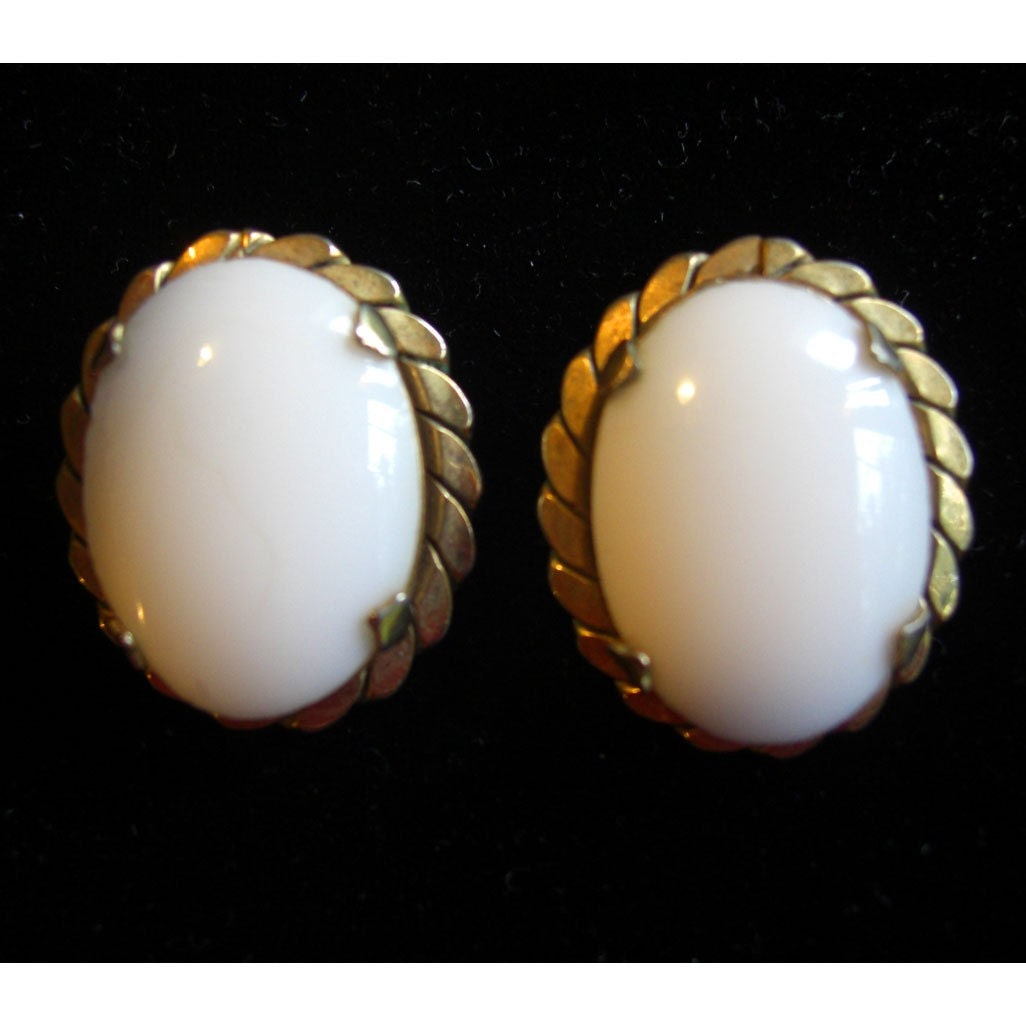
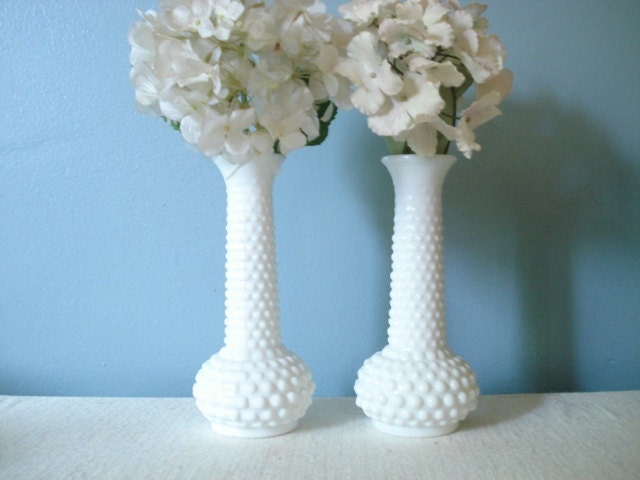
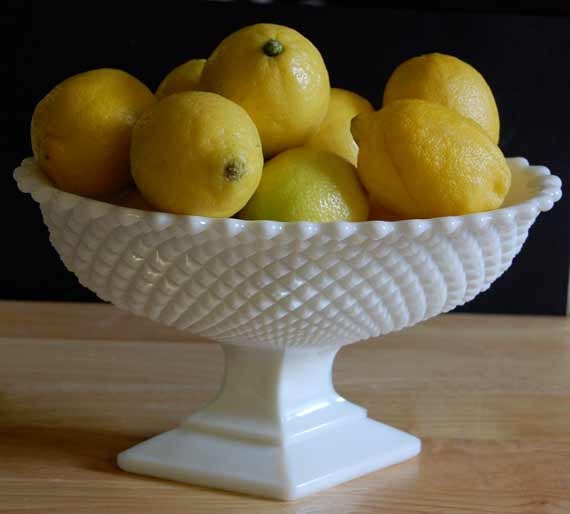
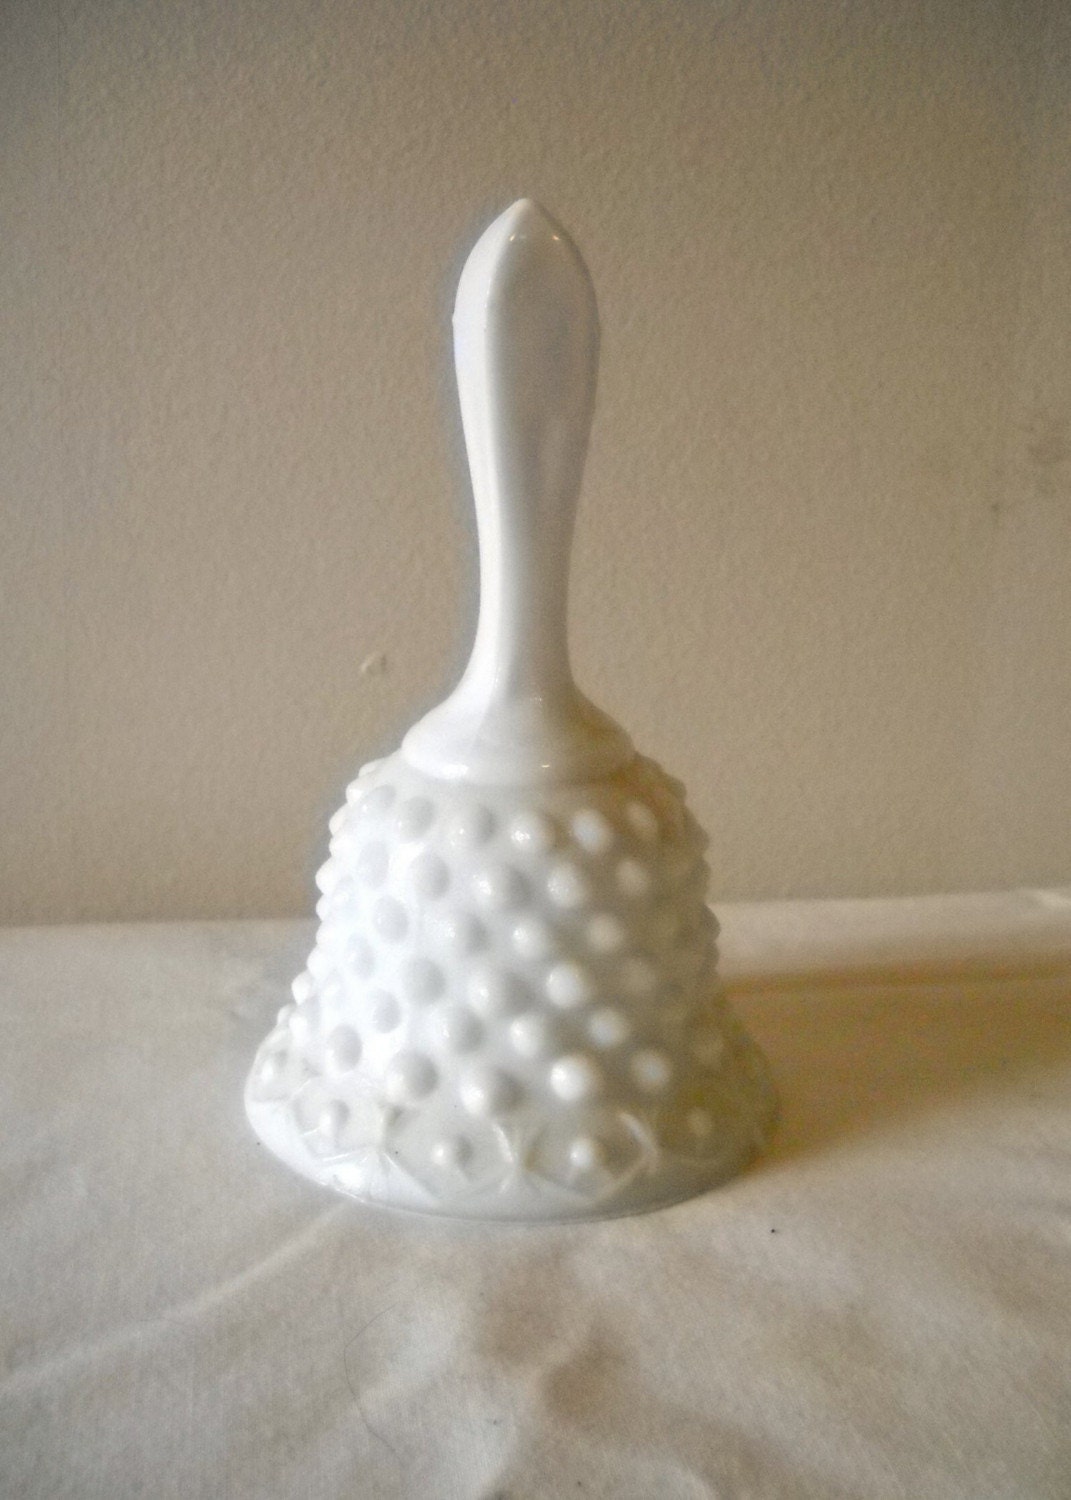
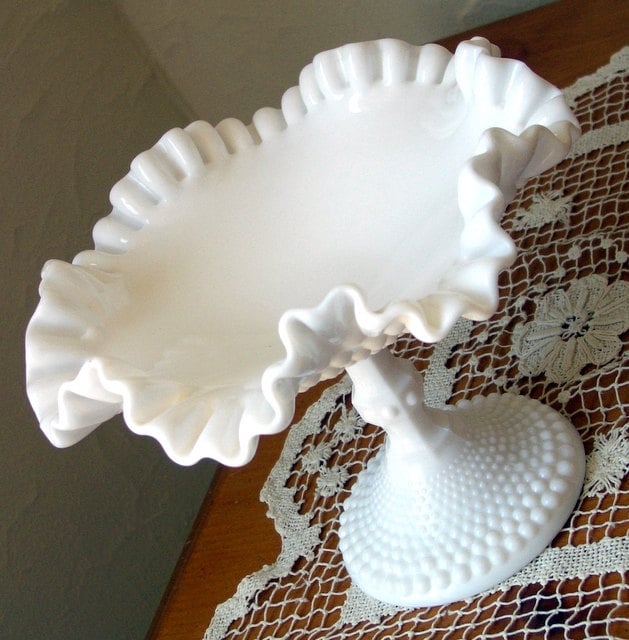
Here are some pieces I found on my favorite vintage and handmade website, Etsy, that you can drool over and buy today, assuming I haven't snatched it up first. :)
You can make your own "milk glass" with any clear glass container you find at home. I did this with a spaghetti sauce jar and acrylic paint. No paint brushes required, no mess! If you have kids, let them help!
|
First, choose a clear glass container. If it has a lid, that will make the job a lot easier, but it's still do-able without one. I do strongly suggest you choose a container with a small opening at the top, not a wide bowl or vase. You will be coating the inside of the container and you don't want your paint to be obvious by being able to see inside easily.
Pick your shade of white paint. Between titanium white and warm white, I chose the cooler titanium. Warm white was just too off-white, and milk glass is pristine in color.
Squeeze a generous amount inside the jar. The idea is to shake (if you have a lid!) or roll the container to completely coat the inside. That way you have the glossy glass texture but with the gorgeous milky color, whereas painting the outside would leave a matte paint texture. Only use enough paint to coat the inside, not so much that you have a pool of it at the bottom of your container. Be sure to completely coat all sides so that any light coming through doesn't betray any streaks or missed spots. For this reason, I did keep a paint brush handy because the thick acrylic paint stubbornly refused to drip to some areas, so I spread it around a bit. Perfection isn't necessary; from the outside all you can see is white. When it dries, you may find it necessary to touch-up a few places, especially around the top where light can make streaks and missed spots obvious.


Now you have your own handmade "milk glass"! Be creative and make more with your favorite colors for an eye-catching collection. Use these as a vase for wildflowers or simply display in your kitchen window, bathroom, or anywhere you want. Happy crafting! |


can I ask you?? does this hold water or does the paint dissolve?
ReplyDelete